Deploying Autodesk Inventor 2017
Silent Installation of Autodesk Inventor 2017
To deploy Autodesk Inventor there are two steps.
Step 1 - Create the Installation Image
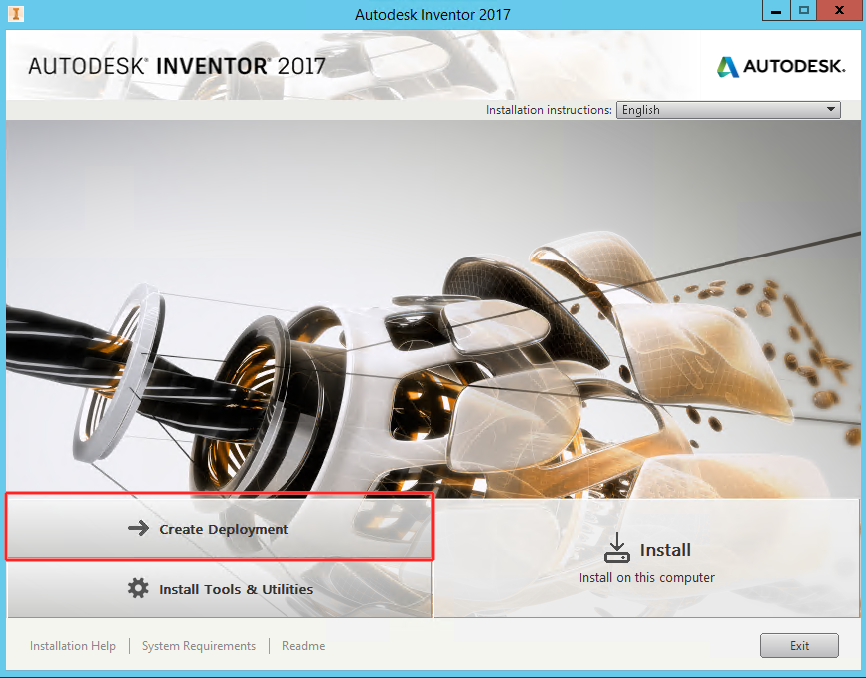
Download the Autodesk Inventor software and run the setup executable to run the software to create the installation image configuration.
Click on Create Deployment
Enter the name of the image (Do not use spaces)
Enter the Path to the folder where the image will be deployed from - use the shared apps folder that is used by the Management Utilities for software deployment.

Review and Agree to Terms of Conditions
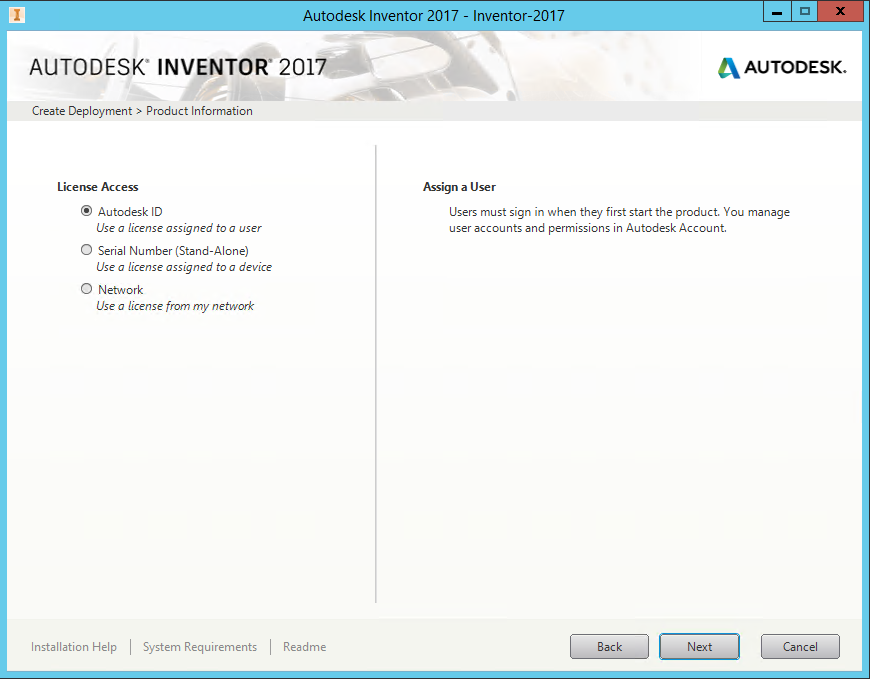
Select the appropriate License control that you are using
Select the Product that you have licensed

Select the path where you wish to install the software and press Create.
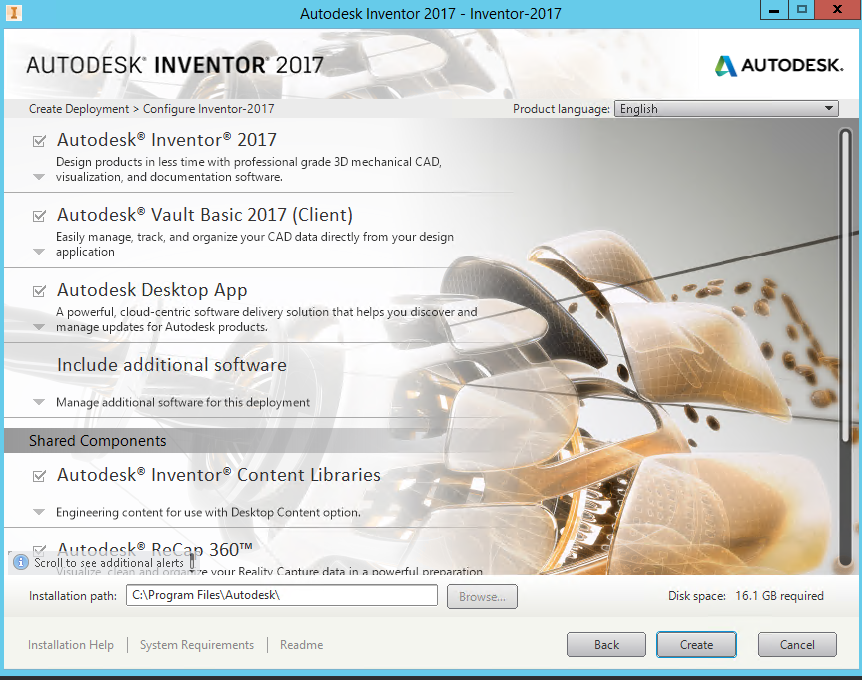
The Image files to perform the silent installation will now be created and saved in the folder you defined at the start as the Image path.
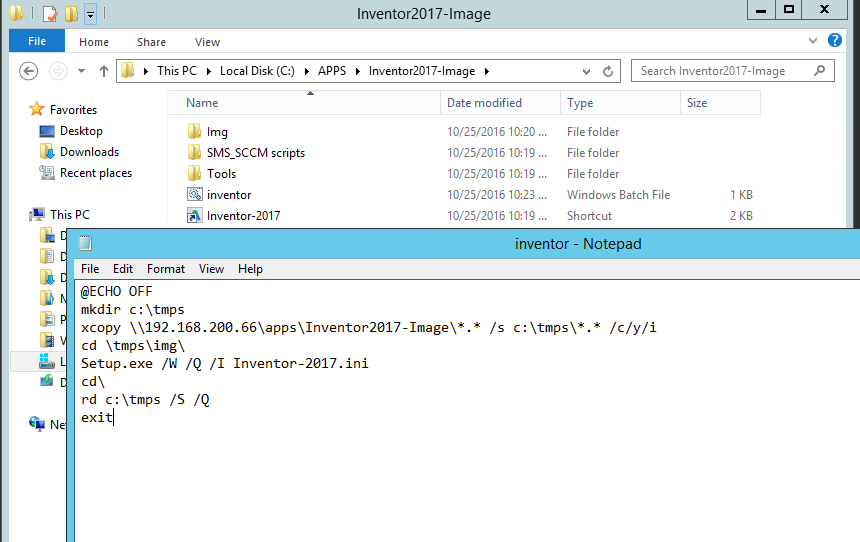
Step 2 - Create a batch file that will perform the silent installation of Inventor
@ECHO OFF
mkdir c:\tmps
xcopy \\192.168.200.66\apps\Inventor2017-Image\*.* /s c:\tmps\*.* /c/y/i
cd \tmps\img\
Setup.exe /W /Q /I Inventor-2017.ini
cd\
rd c:\tmps /S /Q
exit
Path to the shared apps folder where the Image is stored
Name of Image configuration name
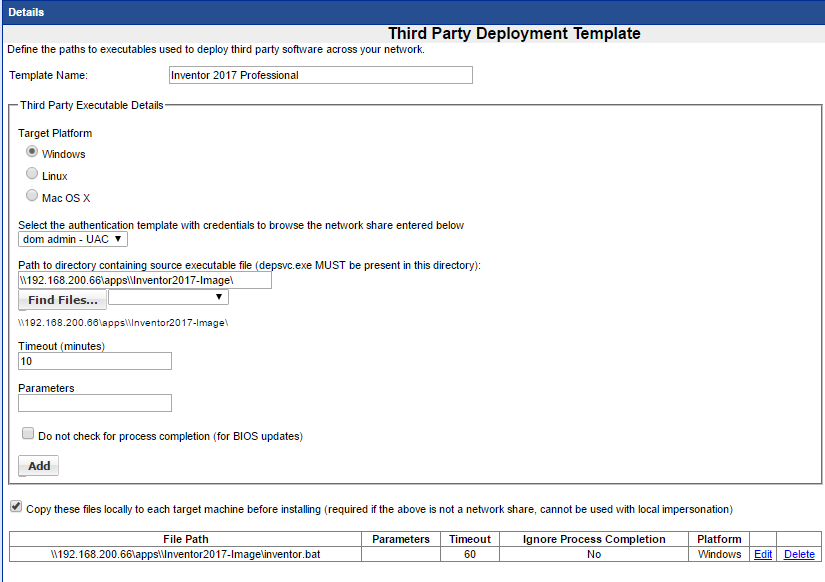
Now create the Third Party Template
Select the batch file and use the UAC Authentication template and check off the copy files locally
**PLEASE NOTE - change the timeout value from 10 minutes to 60 minutes as it will take considerable time to copy the files to the target systems and install the software.