Performing an Audit
Follow these steps to perform an Audit
Connect your mobile device to your Wi Fi network so it can access the server that is running the Site Manager software.
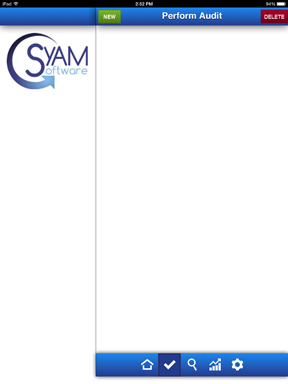
Open up the App on your mobile device
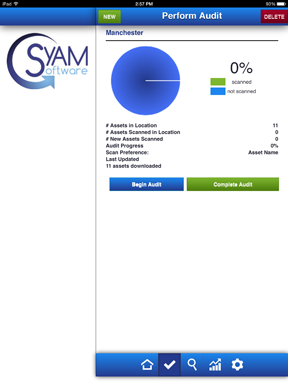
Click on the New button at the top to stat a new Audit
Enter the IP Address or name of the server that is running Site Manager and port address you can access the sever with (Default is port 80)
Click Connect, this will now allow you to choose which location you are going to audit, if you are not sure choose All
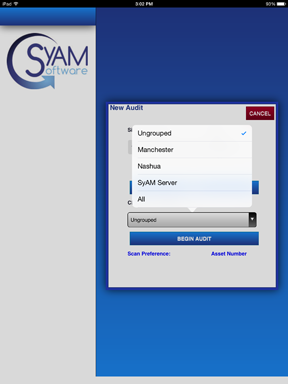
This will download the assets for the location chosen to your mobile device.
**Please Note** Assets that have duplicate Serial number or Asset numbers will not be downloaded - you will see a warning message stating how many assets could not be downloaded as they have duplicate IDs
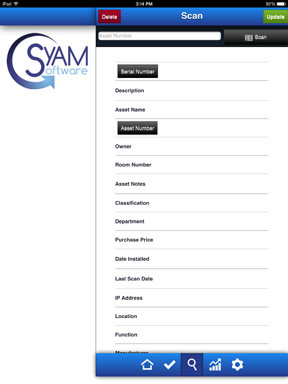
To start the Audit click Begin Audit, this will take you to the Scan screen
The top field will show you what scan preference you have chosen, Asset Name, Serial Number or Asset Number.
**Please Note** If you need to change the scan preference you must make that change, delete the current audit and begin a new audit using the new scan preference
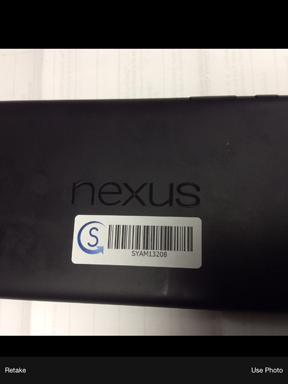
If you are using Asset Number or Serial number as your scan preference you can press the scan button to use the bar code or QRcode
When you scan the serial number/asset number bar code it will retrieve any asset information that relates to the bar code
Example - scanning the Asset Number bar code
If you enter the asset name/serial number/asset number it will retrieve any asset information that relates to the information entered.
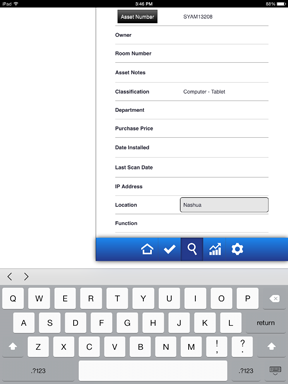
Example - entering the asset name
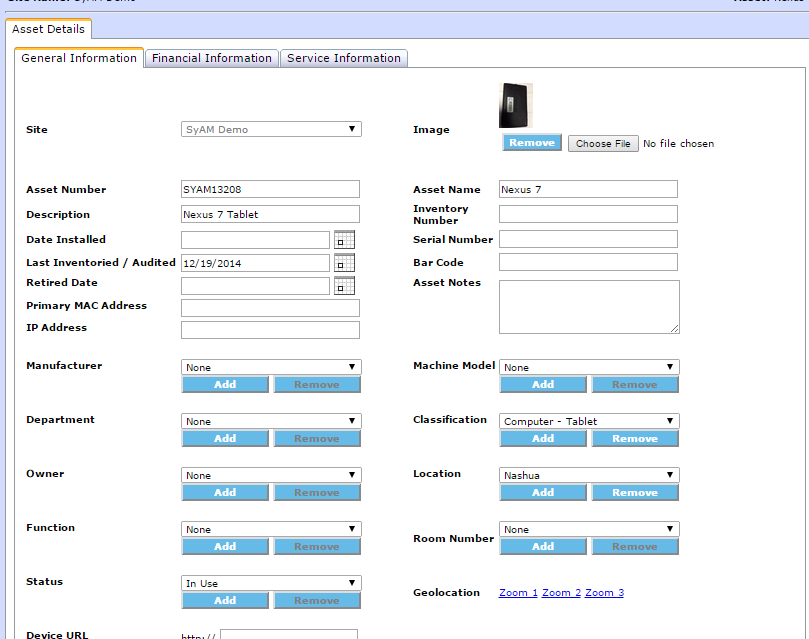
You can update the information as needed, in our example we added the Location as Nashua.
You can take a picture of the asset by clicking on the
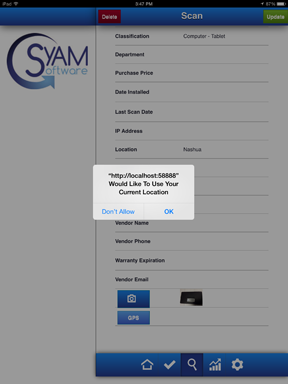
You can capture the GPS location of the asset, first you must approve the application to access location services
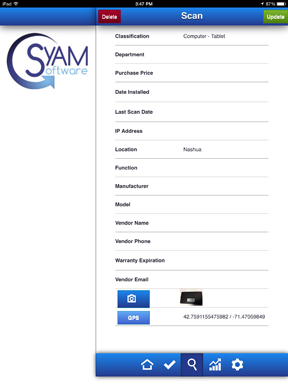
Press Update to save you changes
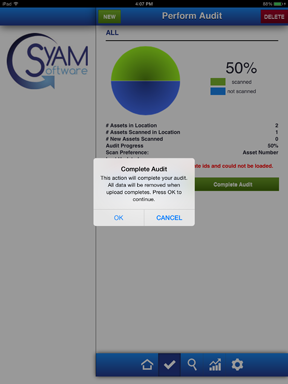
Once you have scanned all the assets press the Check Mark to go back to the perform Audit page, then press Complete Audit.
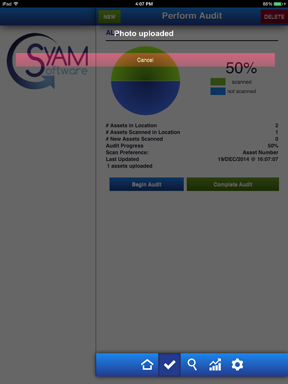
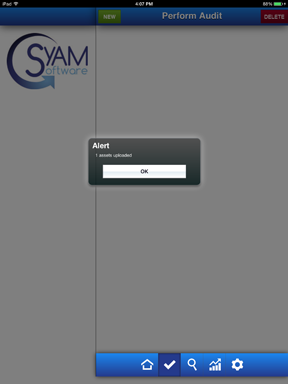
Now your Audit data has been uploaded you need to reconcile it in Site Manager
Log into Site Manager and go the Asset Management Dashboard
Click on the Tools and Utilities Icon 
This will present a list of the Asset Audits that have been completed and the ones that need to be reconciled.

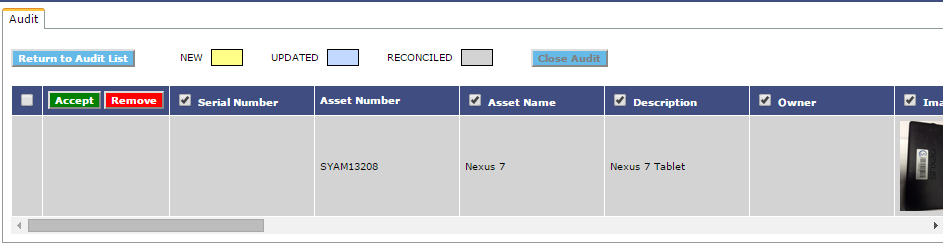
Click on the Reconcile to open up the details of the audit

This will show you the assets that were audited and what information was edited/added to the asset.
Check off which assets you wish to Approve to be updated and press the Accept button to accept the updated information
Once approved the background will go gray.
Now you can see the updated changes in the asset details page, the Last Inventoried / Audited date has been updated to the date you performed the audit.