Uninstalling Microsoft Office 2010
Uninstalling Microsoft Office 2010 using SyAM Management Utilities
The Third Party Software Deployment feature of SyAM Management Utilities can be used to silently uninstall Microsoft Office 2010 from a group of Windows systems.
Requirements: Machines running the SyAM System Client for Windows must be discovered by Management Utilities. Uninstallation uses the same installation files that were used to install your version of Office 2010. The procedure suppresses any reboot normally required when uninstalling Office, so system restarts should be scheduled at the earliest opportunity to complete the removal of Office 2010. Installation of any Office version should not be attempted until after a restart.
If you have used Management Utilities to deploy Office 2010 to your Windows client machines, you can use the installation files already uploaded to the network share defined as the Default Application Path in the Administration Settings of the Management Utility interface. Otherwise, create a subdirectory and copy the files from your installation media to the network share.
In our example the path is \\192.168.100.151\apps and the files are located in the Office2010 subfolder.
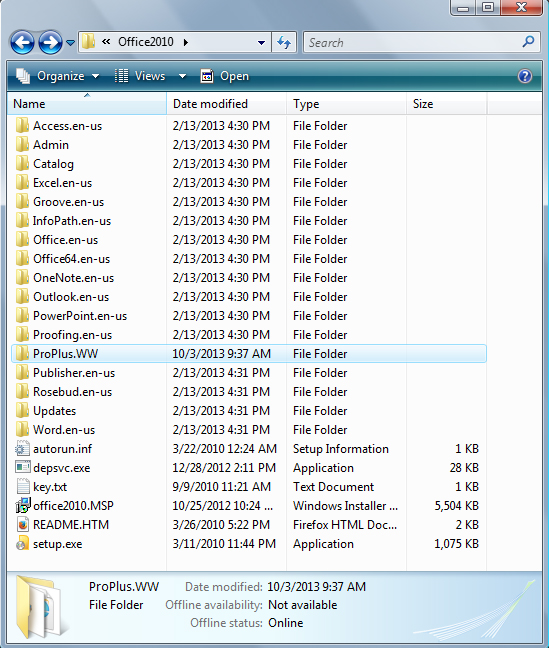
The core product folder for an Office installation is the folder named for the core product with “.WW” appended. In our example the installation is for Office 2010 Professional Plus, and the folder ProPlus.WW is the core product folder. Navigate into this folder and use a text editor such as Notepad to open config.xml.
Choose Save As from the File menu and save the file as uninstallconfig.xml in the core product folder. By doing this we can make the changes we need for uninstallation while retaining the default installation configuration file.
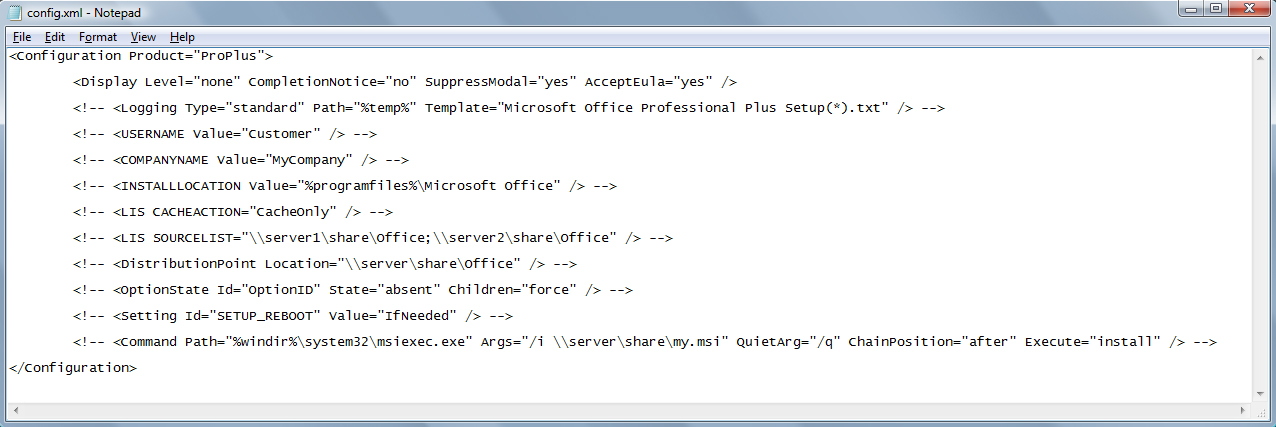
Edit the file, setting the values for Display Level and Setting Id as shown to ensure that the uninstallation is silent and does not require user intervention, and will not perform a reboot. You should not change the value for Configuration Product, which will be different from our example if you have a different version of Office. You may need to remove leading and trailing characters from a line if it has been commented out in your original config.xml file, as we have done here with the line containing the Setting Id parameter. When you are finished, uninstallconfig.xml should look like this:
<Configuration Product="ProPlus">
<Display Level="none" CompletionNotice="no" SuppressModal="yes" AcceptEula="yes" />
<Setting Id="SETUP_REBOOT" Value="Never" />
</Configuration>
Save uninstallconfig.xml when finished editing. Verify that it can be found in the core product folder along with the original config.xml file.
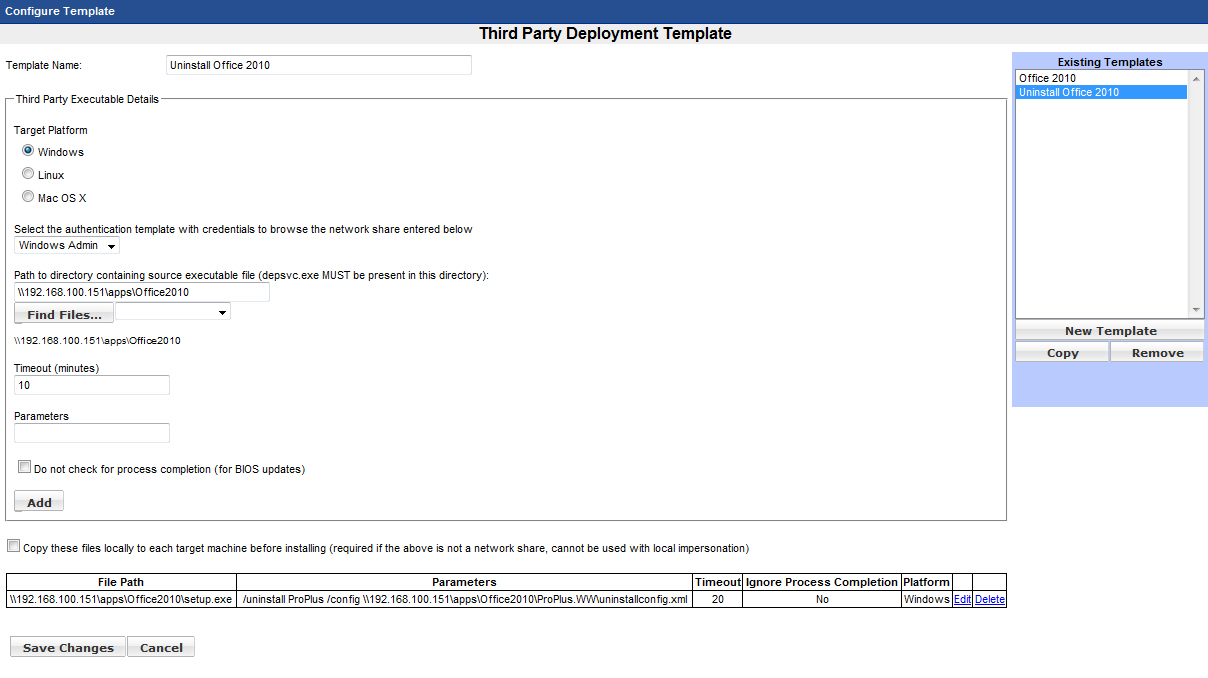
In Management Utility, create a Third Party template. Enter a template name. Choose Windows as the target platform and select the correct authentication template. Enter the path to the network share; this path will already be present if the default path has been entered in Administration Settings. Click the Find Files button and navigate to the subfolder containing the Office 2010 installation files. Use the drop down menu to select setup.exe.
In the Parameters field, type:
/uninstall followed by a space
The product ID followed by a space. This will be the same value as the Configuration Product in the config files
/config followed by a space
The full network path for uninstallconfig.xml
So, in our example the parameters will be
/uninstall ProPlus /config \\192.168.100.151\apps\Office2010\ProPlus.WW\uninstallconfig.xml
Click the Add button.
Click the Save Changes button. Click OK to confirm.
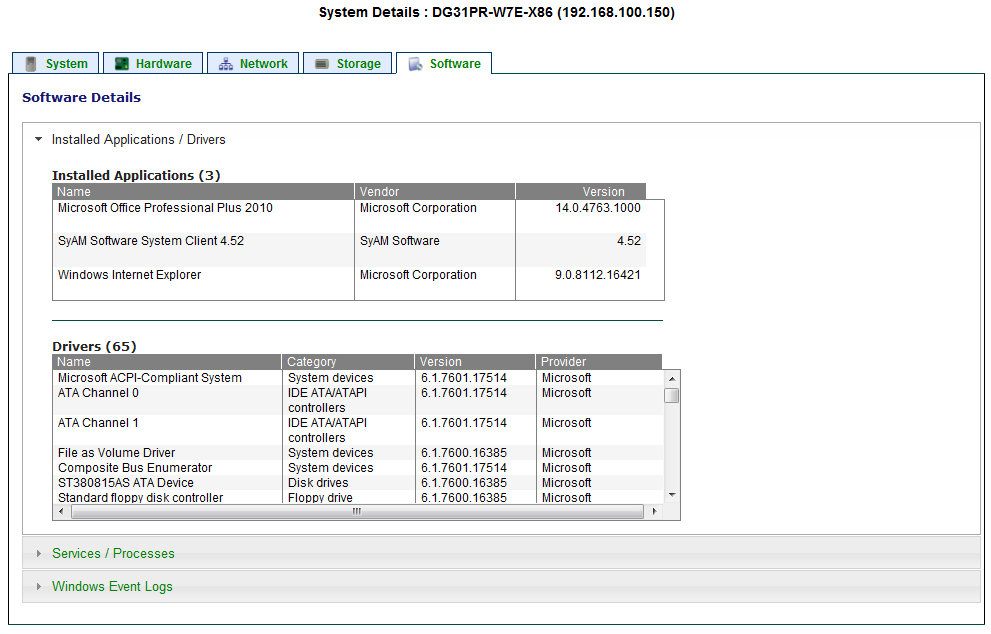
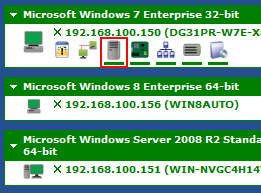
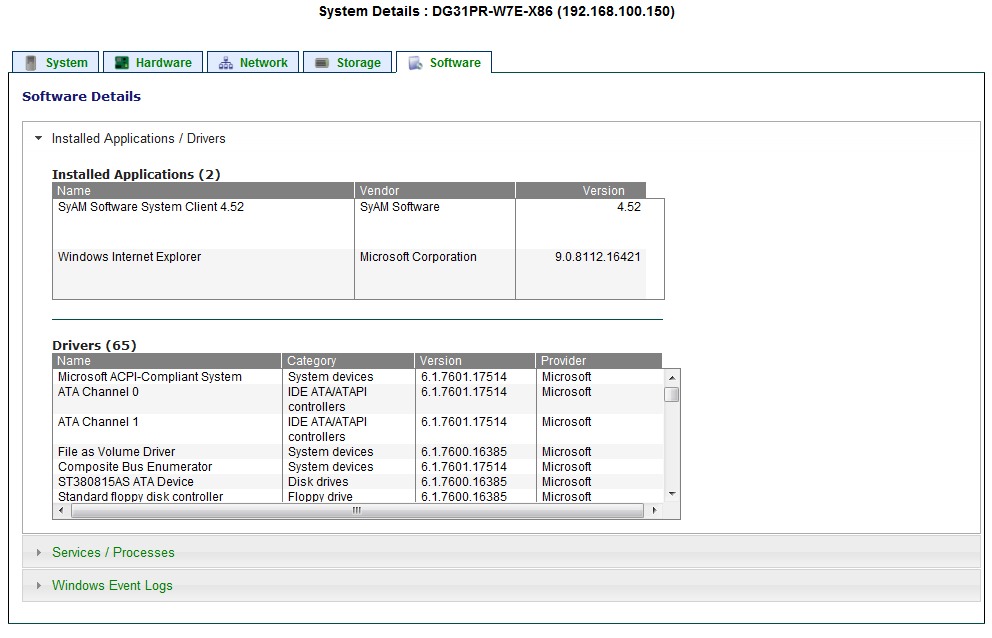
Now you can test on a single system. In System Area Manager, identify a system running Office 2010, locate the system in the management tree, and click the icon to display software.
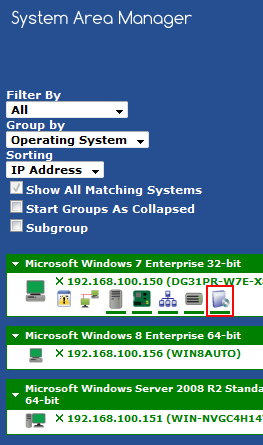
Verify that your version of Office 2010 appears in the list of installed software.
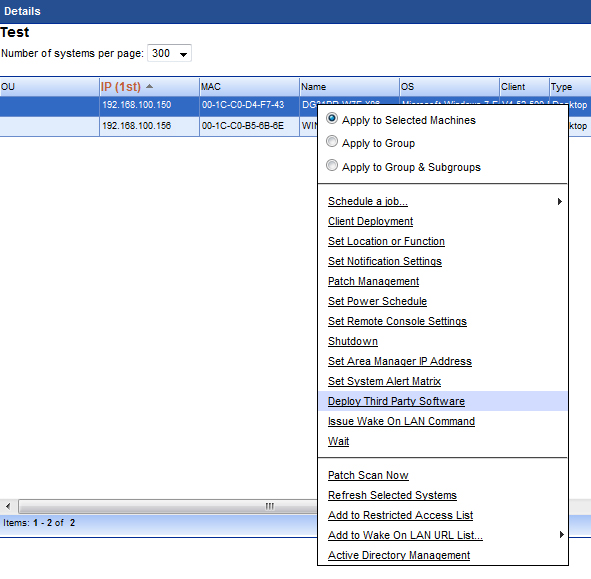
In Management Utility, find this system in the Groups area, select the system by clicking its row, then right-click to display the context menu. From the menu, choose Deploy Third Party Software.
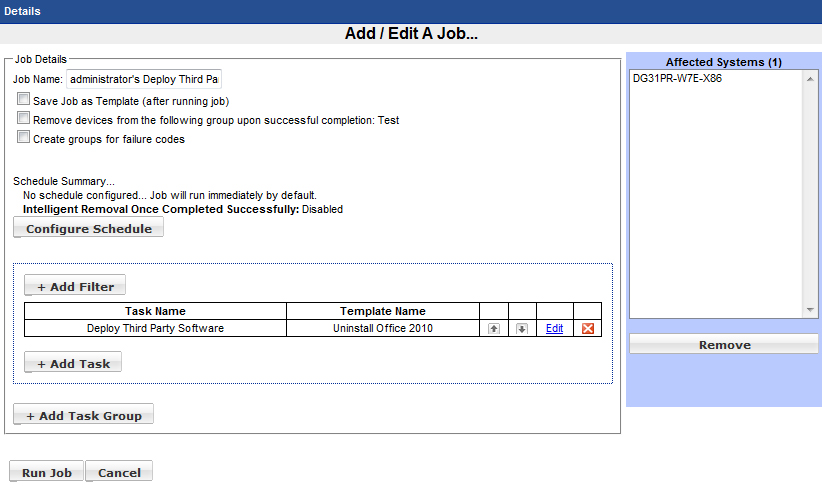
In the New Task dialog, choose the Windows authentication template and the newly created Office 2010 uninstallation template. Click OK.

On the Add/Edit A Job page, click the Run Job button, then click OK to confirm. The job will begin shortly.
After the job is finished, you may review the status by finding the job in the Status area and clicking the View Details link.
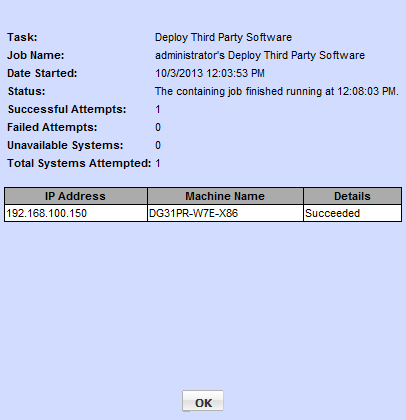
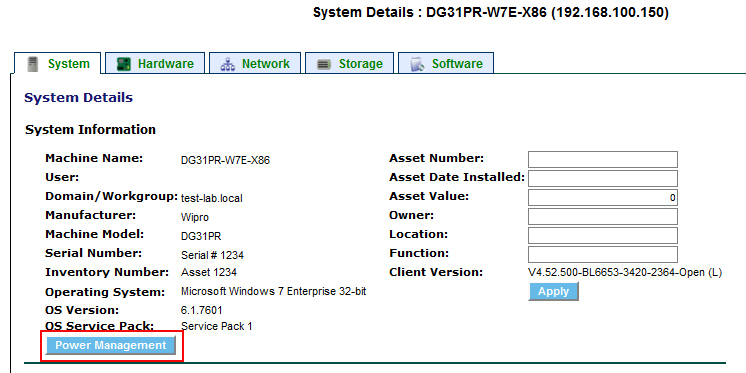
Now that Management Utility has reported successful deployment of our Office 2010 uninstallation, we’ll want to confirm that the client system has not rebooted, perform the required reboot to complete the uninstallation process, and verify that Office 2010 has been removed. We can make these checks using System Area Manager. First, wait a few minutes to allow for any restart, then display the System tab for the client system.
Click the Power Management button on the System Details page.
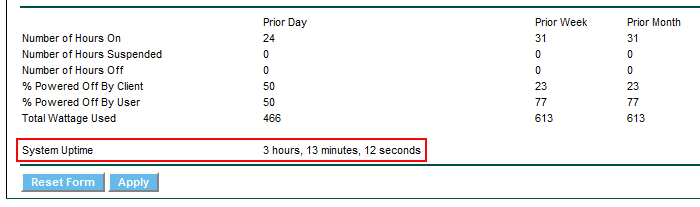
Scroll to the bottom of the Power Management page and find System Uptime. Verify that the system uptime is longer than the time elapsed since the Office uninstallation.
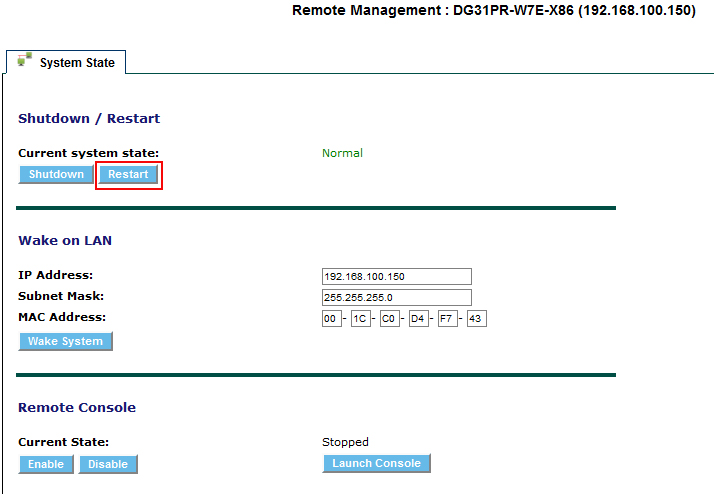
Navigate to the system’s Remote Management page.

To restart the system, click the Restart button, then click OK to confirm.
Allow a few minutes for the restart to occur, then navigate to the system’s Software page to confirm that Office 2010 is no longer present.
Once you have uninstalled successfully on a single machine, you can use the Groups context menu options to repeat the process for multiple client machines. If desired, Management Utilities power management options can be used to perform scheduled system restarts. In the Report area of System Area Manager, you can use the Application Summary report to look at a group of systems and see the number of machines where Office 2010 is installed. The Asset Details report includes per-machine lists of installed software applications.