Internet Explorer 11 Rollback to Previous Version
Internet Explorer 11 Rollback to Previous Version
You can use the Management Utilities to remove Internet Explorer 11 and it will roll back to the previous version of Internet Explorer installed on the target systems. This can be accomplished by creating two batch files to execute on the target systems and scheduling two jobs to run against the target systems.
It is important to run the Disable Auto Update template jobs first. This is because systems would revert to a previous IE version and then the Auto Update would Update them back to IE 11.
- Scheduled Job 1. Turn off automatic Updating of Internet explorer.
- Scheduled Job 2. Remove IE11 and reboot so it will roll back to the previously installed version.
Scheduled Job 1. Turn off automatic Updating of Internet explorer.
To begin, create the first batch file:
Create a batch file 1 - called "disable-IE-autoupdate.bat" with the following:
:--------------------------------------
echo off
cd \
reg ADD "HKEY_LOCAL_MACHINE\SOFTWARE\Microsoft\Internet Explorer\Main" ^
/v "EnableAutoUpgrade" /t REG_DWORD /d 0 /f
:--------------------------------------
Save the batch file to the server share drive you use for application deployment.
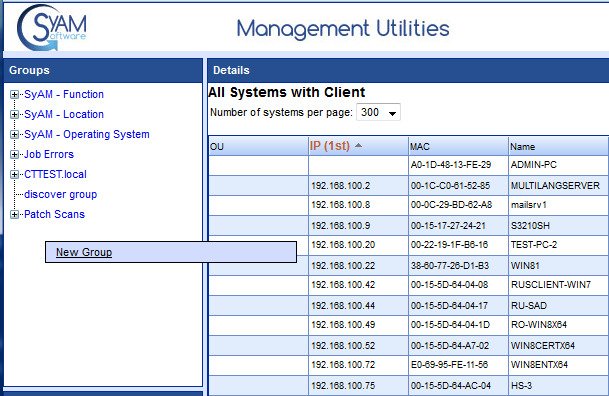
In the Management Utility, Groups area, right click and select New Group. Create the new group for the systems that will have The Internet Explorer Auto Update disabled.

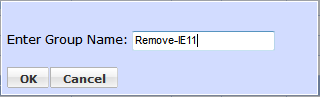
Enter the Group Name
Once the group is created we will add Systems in this group so the Intelligent Removal will take them out of the list once the job has been successfully run against a the systems.
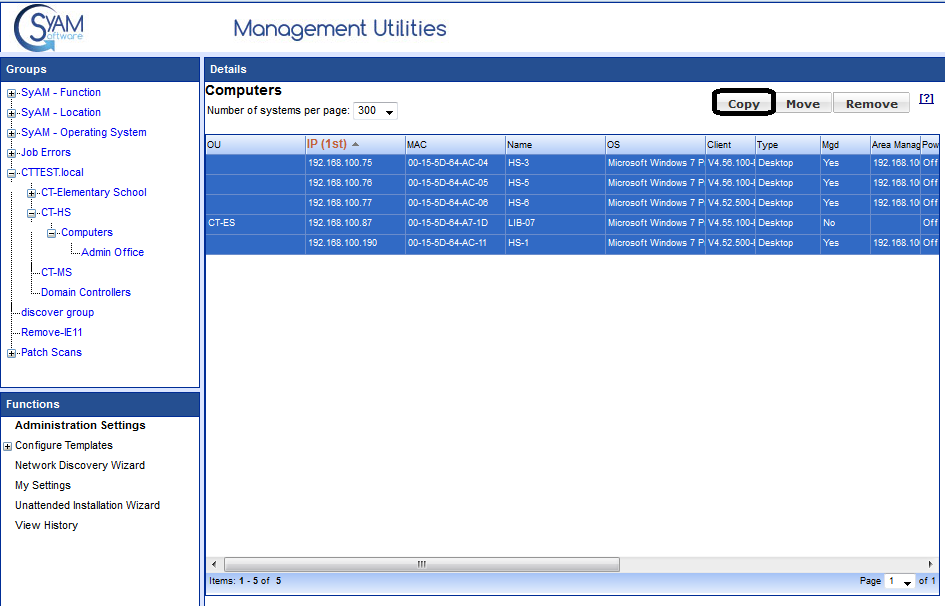
In the Management Utilities, select the group /OU that contains the systems that will have the Internet Explorer Auto Update feature disabled, if there are systems in multiple groups, use the same steps to copy systems from the other groups to the new Group.
It is very important that the COPY button is used and not the move.
Expand the groups on the left and select the systems and click the Copy button.
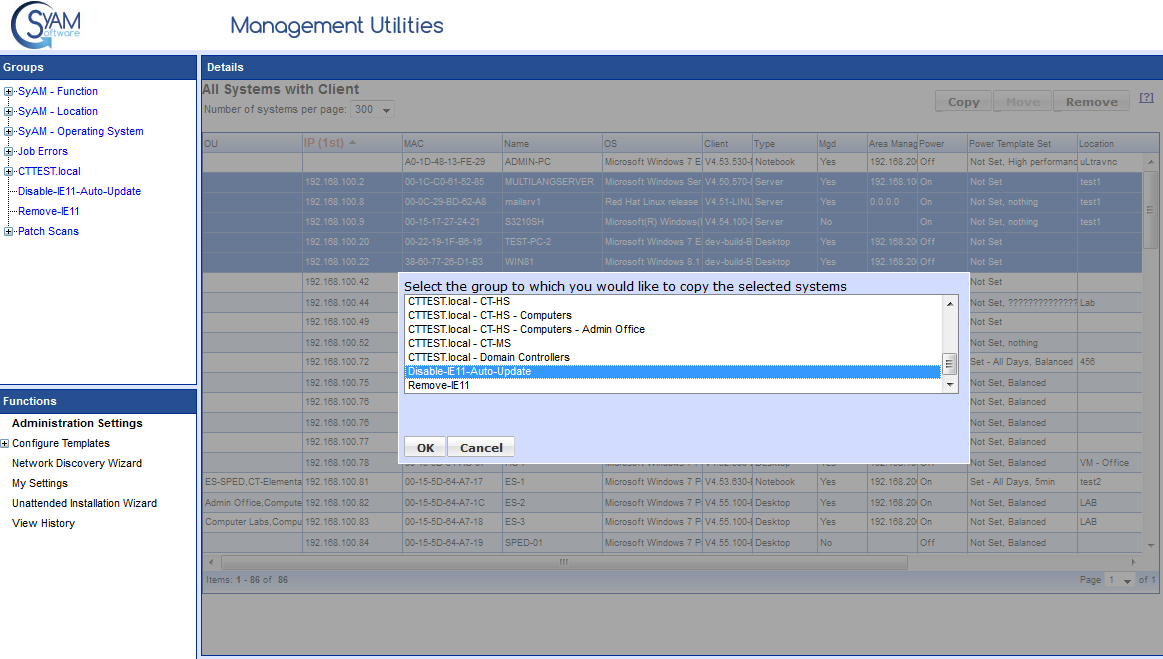
Select the new group and click the OK button.
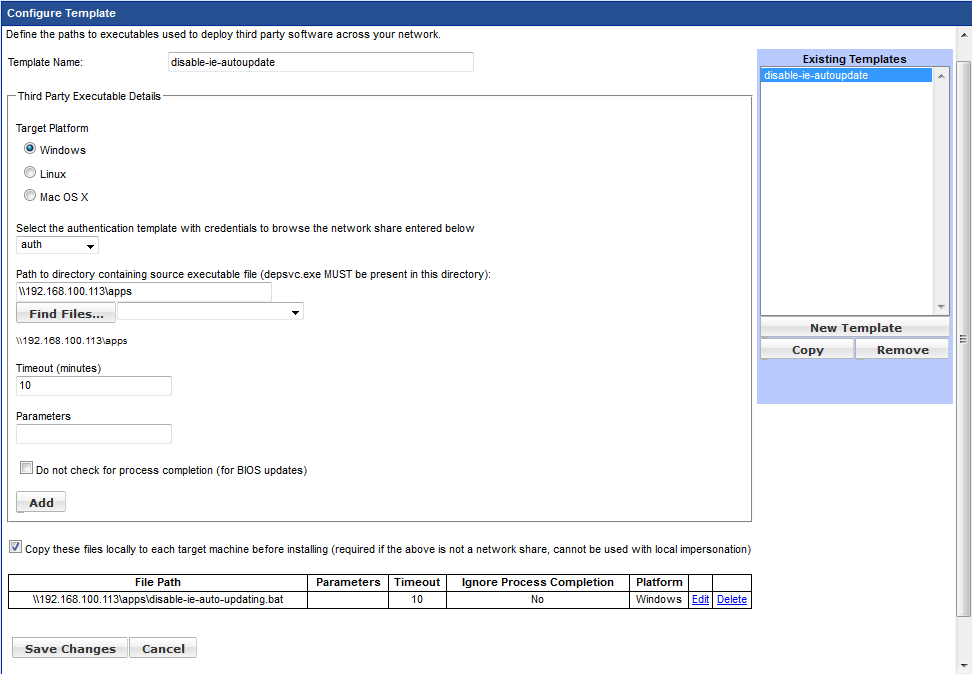
In Management Utility, create Third Party templates. Enter the first template name. for example Disable-IE-Auto-Update . Choose Windows as the target platform and select the correct authentication template. Enter the path to the network share containing the installation subdirectory; this will already be present if the default path has been entered in Administration Settings. Click the Find Files button and choose the disable-ie-autoupdate.bat from the drop down menu. Click Add to add the file to the job. Check Copy these files locally then click Save Changes.
Selecting Systems and scheduling the jobs to run.
Select the Disable IE Auto Update Group from Groups, Right click in the Center Details Area and select, Apply to Group. If there are sub-groups select Apply to Group & Sub-Groups.
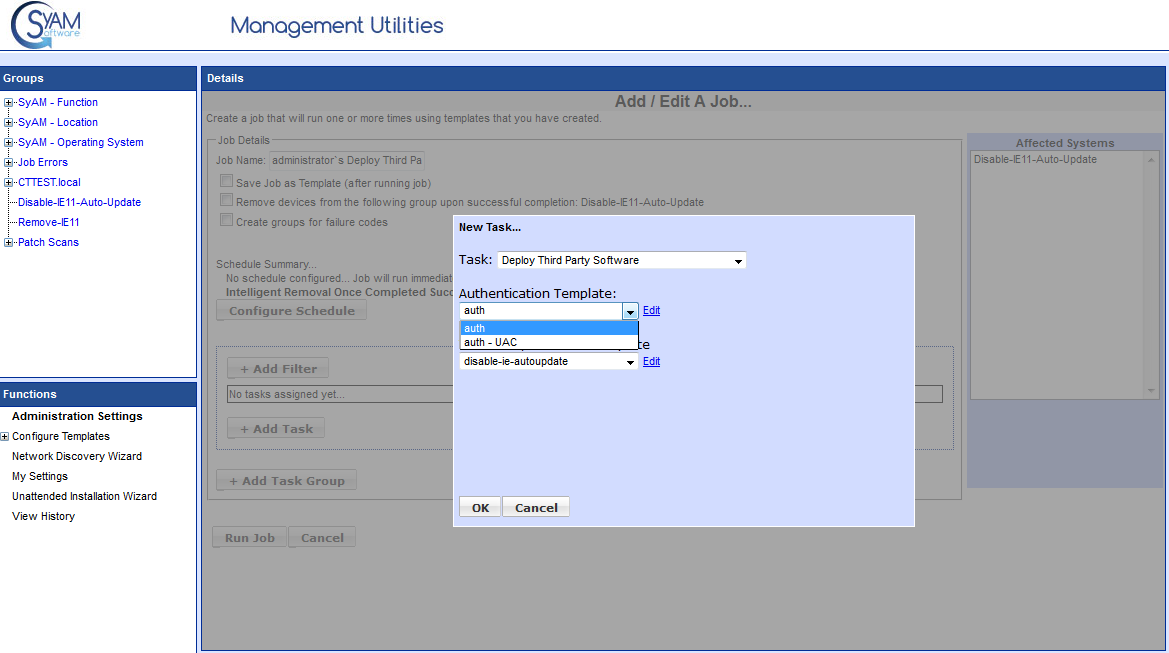
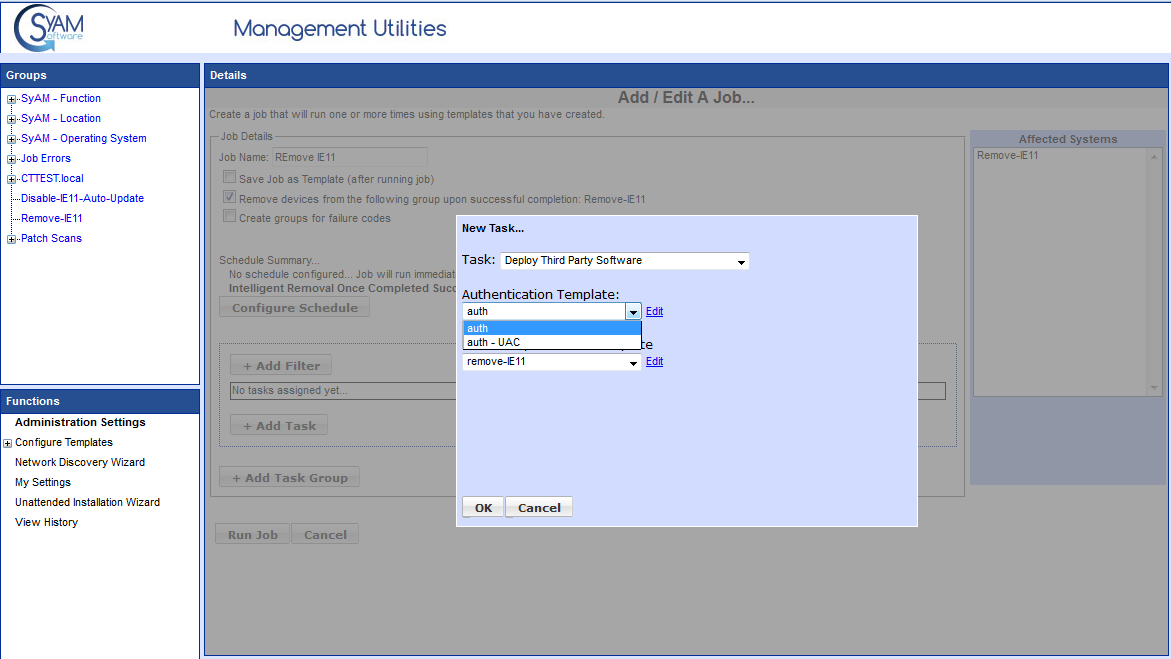
Then Select , "Schedule a Job" from the list. Enter the Job Name and check "Remove device from list upon successful completion", Click "Add Task" and select Deploy Third Party Software. Select the Authentication template, use the UAC one if you have a UAC environment. Then select the Template to Disable-IE-Auto-Update. and click Ok.
Click Configure schedule and set it to run multiple time in the morning hours.
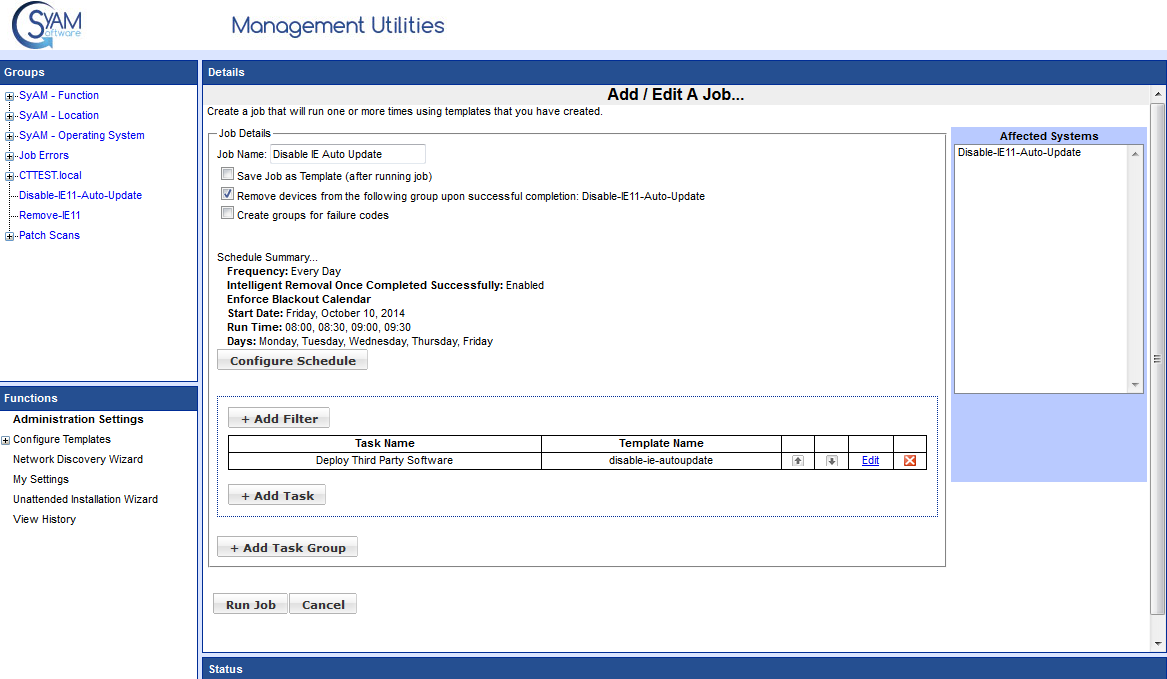
Once configured Click Run Job and it will execute at the schedule times. This job can be run several times in the morning as it is not disruptive to the users.
Scheduled Job 2. Remove IE11 and reboot so it will roll back to the previously installed version.
To begin, create the second of the batch files:
Create a batch file 2 - called "remove-IE11.bat" with the following:
:--------------------------------------
@ECHO OFF
FORFILES /P %WINDIR%\servicing\Packages /M Microsoft-Windows-InternetExplorer-*11.*.mum /c "cmd /c echo Uninstalling package @fname && start /w pkgmgr /up:@fname /quiet
:--------------------------------------
If you do NOT want it to restart after the uninstall add the last command /norestart
Save the batch file to the server share drive you use for application deployment.
In the Groups area, right click and select New Group. Create a new group, for the Removal of IE11.
This is the grouping that will contain the list of systems that will have Internet Explorer 11 removed from them. We put them in their own group so the Intelligent Removal will take them out of the list once the job has been successfully run against a the systems.
Enter the Group Name
Once the group is created we will add Systems in this group so the Intelligent Removal will take them out of the list once the job has been successfully run against a the systems.
In the Management Utilities, select the group /OU that contains the systems that will have the Internet Explorer Auto Update feature disabled, if there are systems in multiple groups, use the same steps to copy systems from the other groups to the new Group.
It is very important that the COPY button is used and not the move.
Expand the groups on the left and select the systems and click the Copy button.

Select the New Group Name and click the OK button.
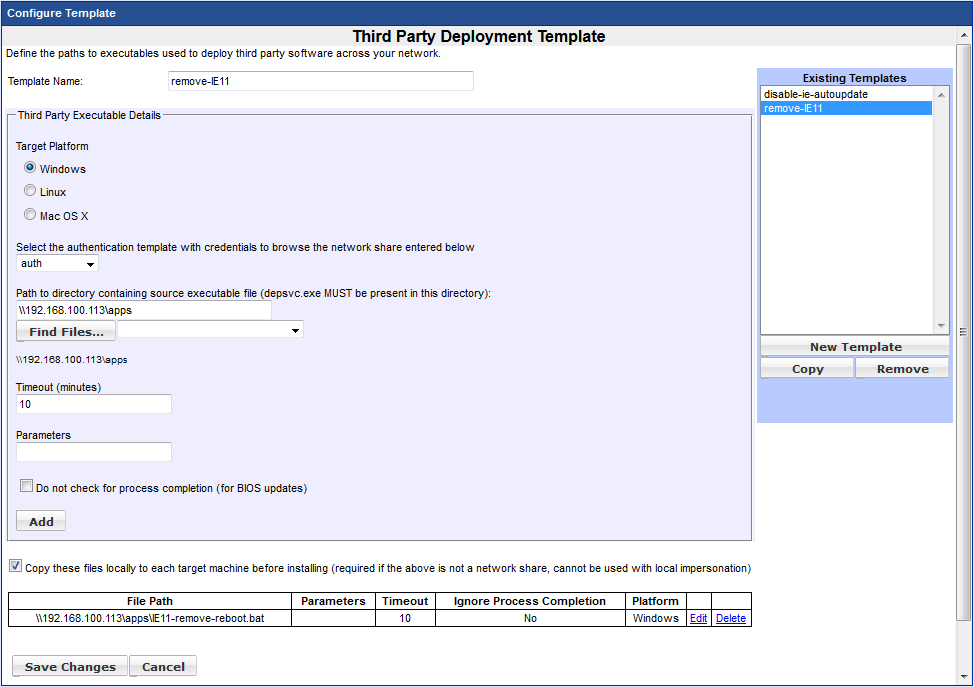
Now Configure the Third Party Template to remove Internet Explorer.
Select Configure Templates->Third Party, Enter the template name. for example Remove-IE . Choose Windows as the target platform and select the correct authentication template. Enter the path to the network share containing the installation subdirectory; this will already be present if the default path has been entered in Administration Settings. Click the Find Files button and choose the disable-ie-autoupdate.bat from the drop down menu. Click Add to add the file to the job. Check Copy these files locally then click Save Changes.
Creating the Job to complete the rollback tasks.
Select the Remove IE Group from Groups, Right click in the Center Details Area and select, Apply to Group. If there are sub-groups select Apply to Group & Sub-Groups.
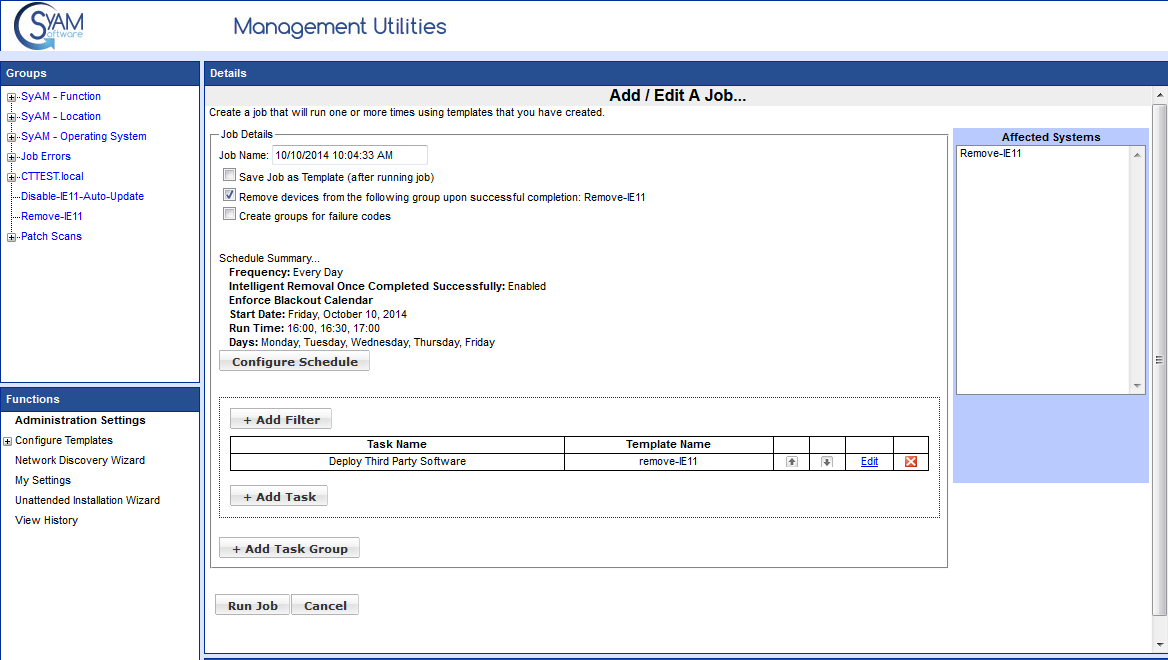
Then Select , "Schedule a Job" from the list. Enter the Job Name and check "Remove device from list upon successful completion", Click "Add Task" and select Deploy Third Party Software. Select the Authentication template, use the UAC one if you have a UAC environment and the Deploy Third Party Software template to Remove-IE11. Click OK to Save.
Click Configure schedule and set it to run multiple time when users would not be active on the systems. This is important because a reboot is required for the rollback to complete.
Once the Jobs have successfully completed on the target systems the systems should be removed from the groups. When the groups are empty they may be deleted by right clicking on the name and selecting delete.