Retiring Assets
Retiring Assets
There are two ways to retire Assets, one way if its a computer running a System Client, the other for assets that do not have a System Client installed.
Retiring an Asset is putting it into a Status of retired - this stops the asset from being displayed as an Asset for Tickets to be assigned to it.
Retiring a computer which had a System Client Installed
If the computer is no longer in use and has been removed from the Network you can Log into System Area Manager and remove the system from the Management Tree.
Click on the X next to the system that has been removed off of your network and that has been retired.
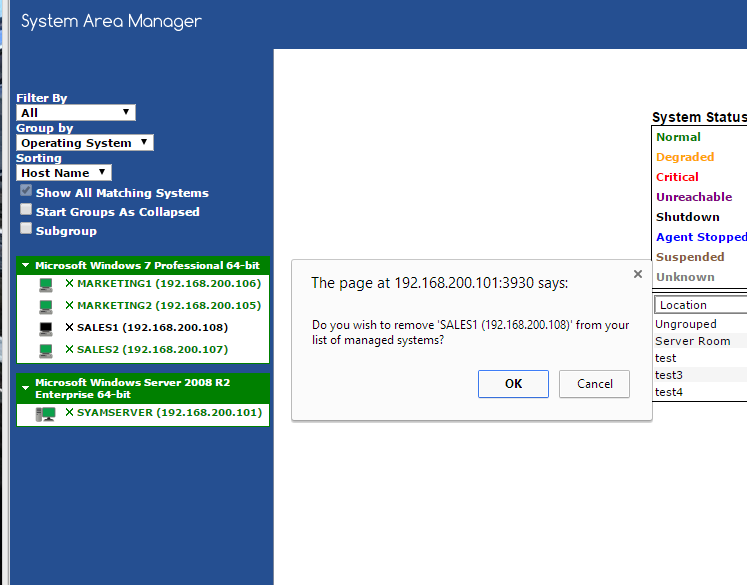
Now the system has been removed from the System Area Manager it frees up a license so you can add the replacement system to the Area Manager, it also updates Site Manager and places the system in Retired Status
Retiring Assets that do not have a System Client installed
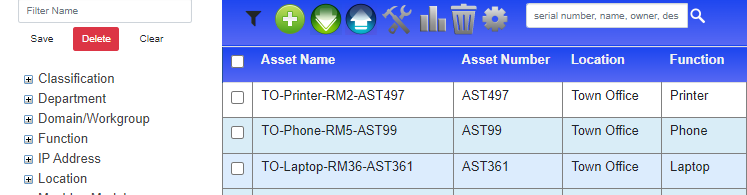
To move an asset into a Retired status from the Asset Management Dashboard, follow these steps:
Locate the asset you want to retire on the dashboard.
Click on the asset, which will open up the Asset Details view.
Within the Asset Details view, change the status of the asset to Retired
Update the Retired Date.
Save or apply the changes to update the asset's status to Retired.
By following these steps, you can easily move an asset into a Retired status from the Asset Management Dashboard and keep the asset records up to date.
In this example we are choosing the Laptop AST361
From within the Asset General Information screen change the Status from "In-Use" to "Retired"
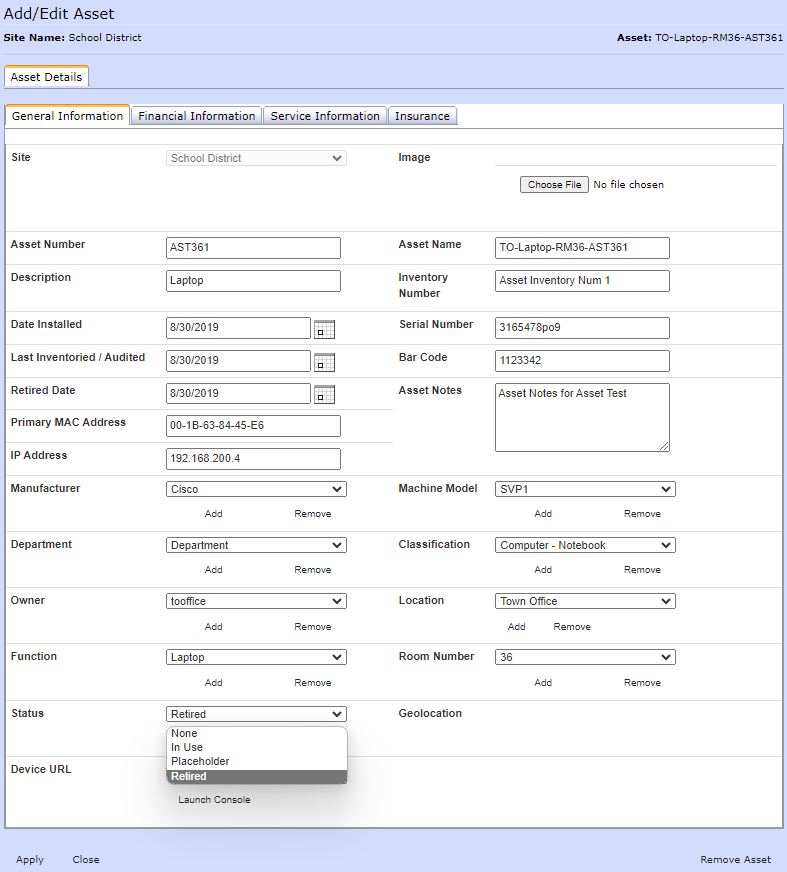
Press the Apply button to save the changes
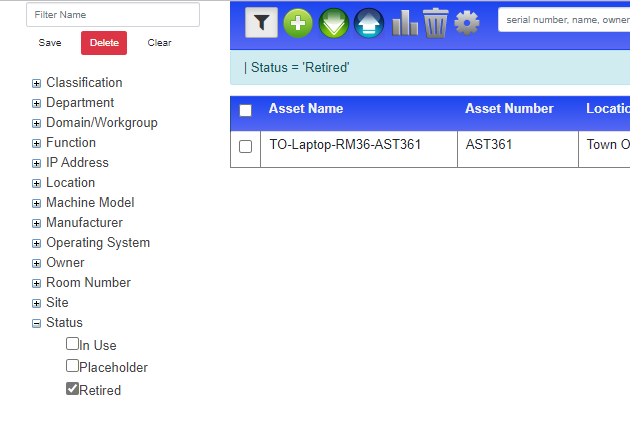
Viewing Retired Assets
Use the Status filter to easily view the list of retired assets.