SyAM Management Utilities and Non-Admin
SyAM Management Utilities and Non-Admin
Domain Users
Some features of SyAM Management Utilities, including Client Deployment and Third Party Software Deployment, require authentication credentials with administrative privileges on target machines. In an Active Directory environment, Domain Users who are not Domain Admins can become local administrators on all Windows machines in an Organizational Unit, using Group Policy. This makes it possible for users to access all desired features of Management Utilities without granting full domain admin privileges.
This document provides detailed instructions, covering the following steps:
- Creating a security group in Active Directory and adding the users who will need local admin privileges.
- Creating a Group Policy for an Organizational Unit to make all members of the group local administrators on all systems in the OU.
- Adding the security group to the local Administrators group on the Management Utilities server.
- Configuring user access to network shares to deploy System Client, third party applications, and Windows updates.
- Adding all users in the group as Management Utilities users.
- Using Management Utilities to create SQL logins for all users.
Active Directory configuration
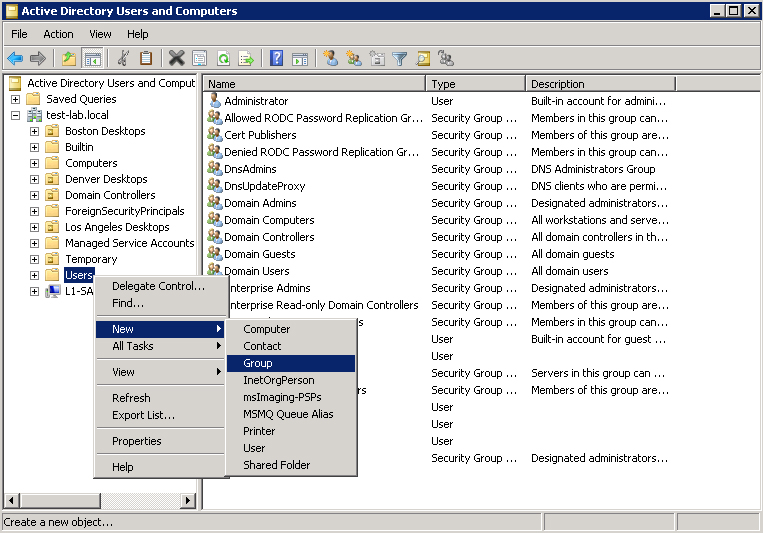
Logged into your server as a Domain Admin, open Active Directory Users and Computers. Under the domain to be configured, right-click the Users folder and choose New – Group.
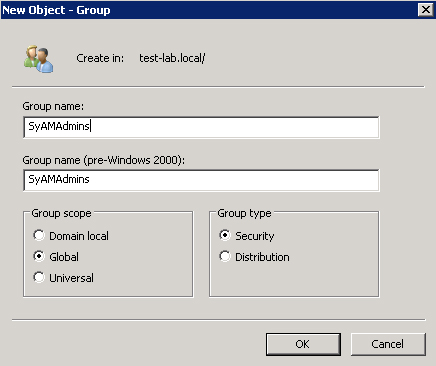
Enter a name for the group that will contain the Domain Users to be configured as local Administrators. Click OK.
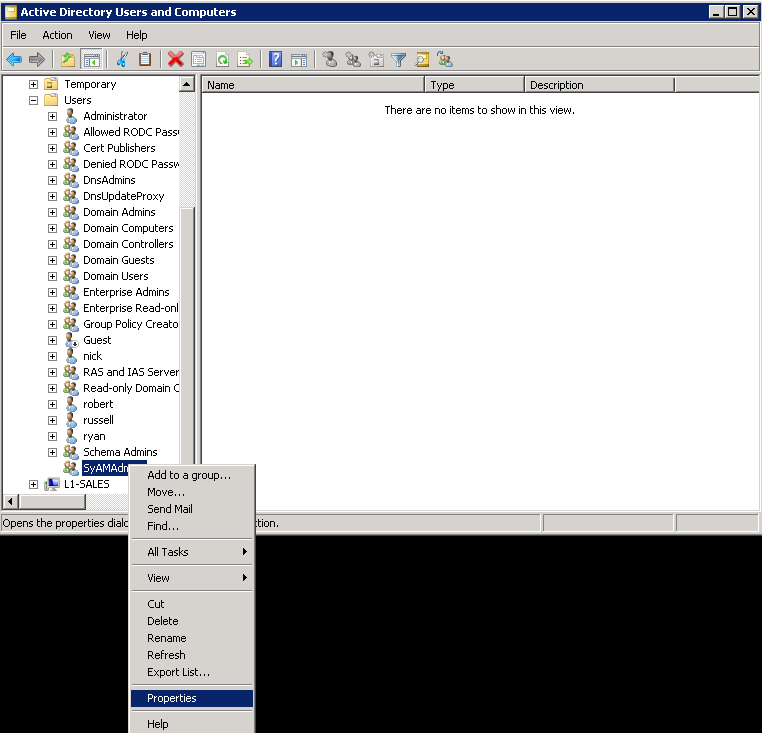
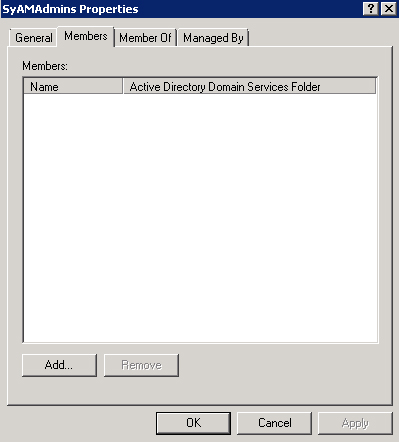
In Active Directory Users and Computers, expand Users and right-click the group that was just created. From the menu, choose Properties.
In the Properties dialog, click Add.
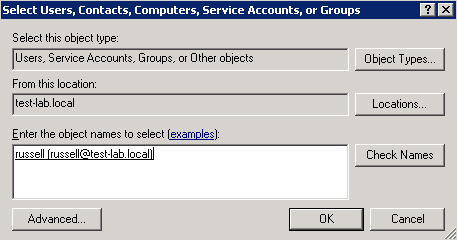
Type the name of a domain user to be added to the group. Click the Check Names button to validate your choice, then click OK. Repeat these steps to add more users to the group.
When all users have been added, click OK.
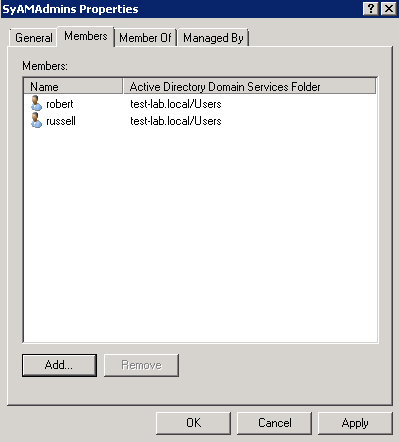
Users can be added to the group in the future, as needed.
Group Policy configuration
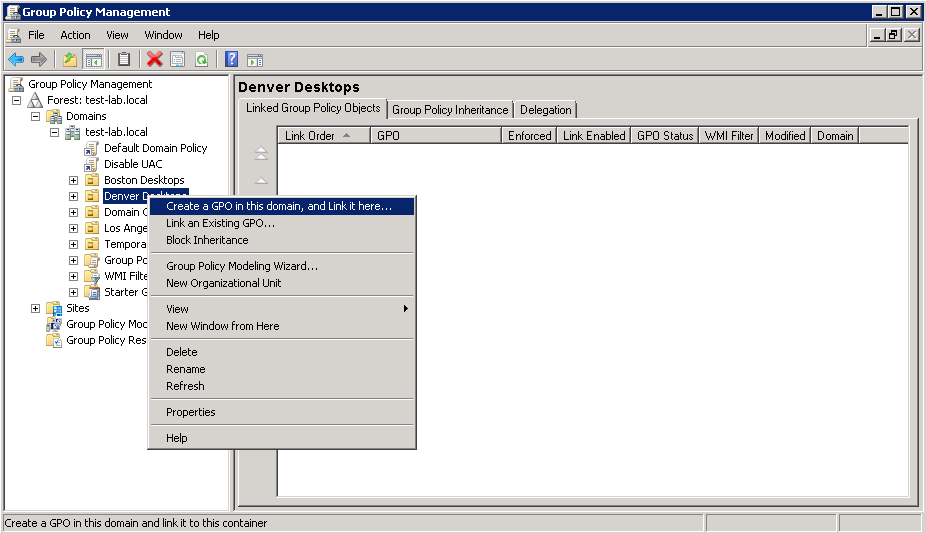
Now that a group of users has been defined, we can create a Group Policy to make all members of the group local administrators on machines in an OU. In Administrative Tools, open Group Policy Management. Under the domain, right-click an OU where the new policy will apply, and choose Creata a GPO in this domain, and Link it here.
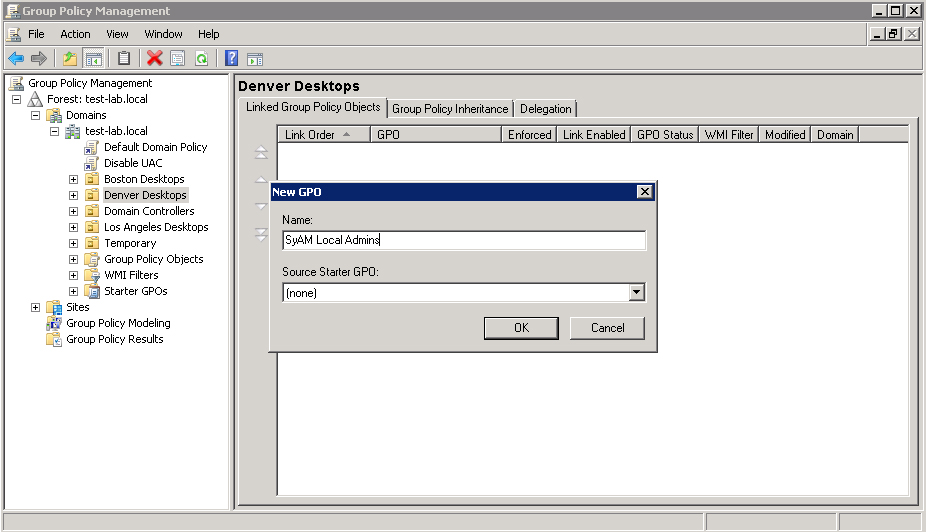
Enter a name for the new Group Policy Object. Click OK.
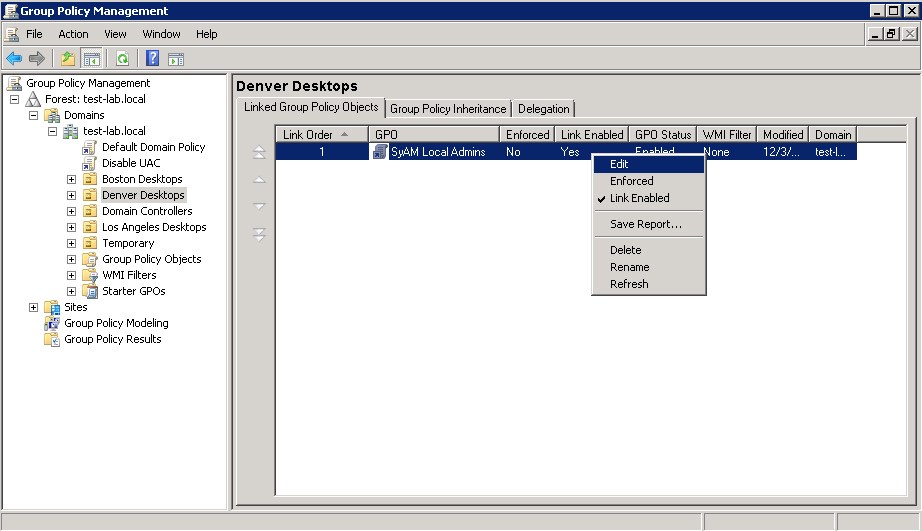
Right-click the GPO and choose Edit.
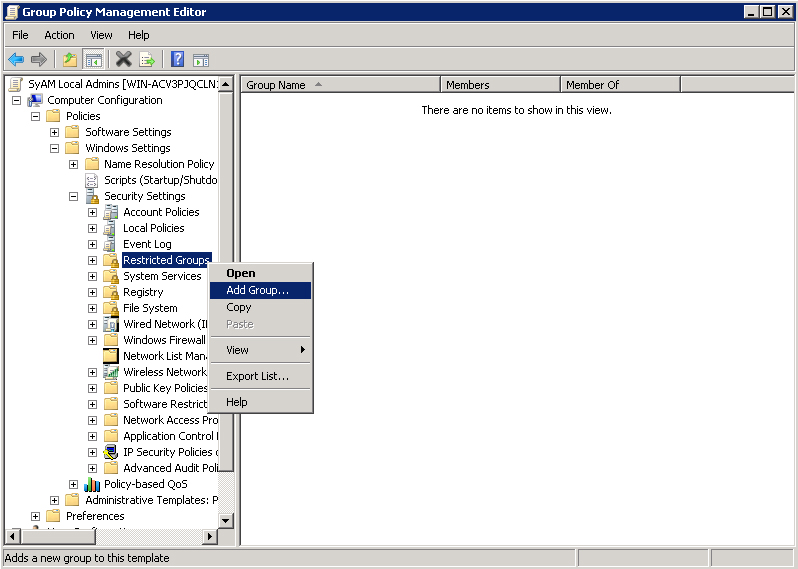
In the Group Policy Management Editor, browse to Computer Configuration – Policies – Windows Settings – Security Settings. Right-click Restricted Groups, then choose Add Group from the menu.
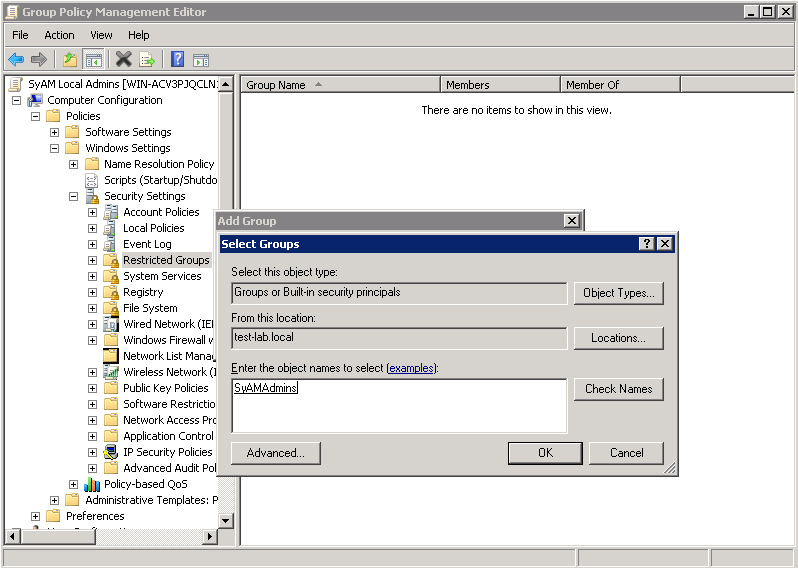
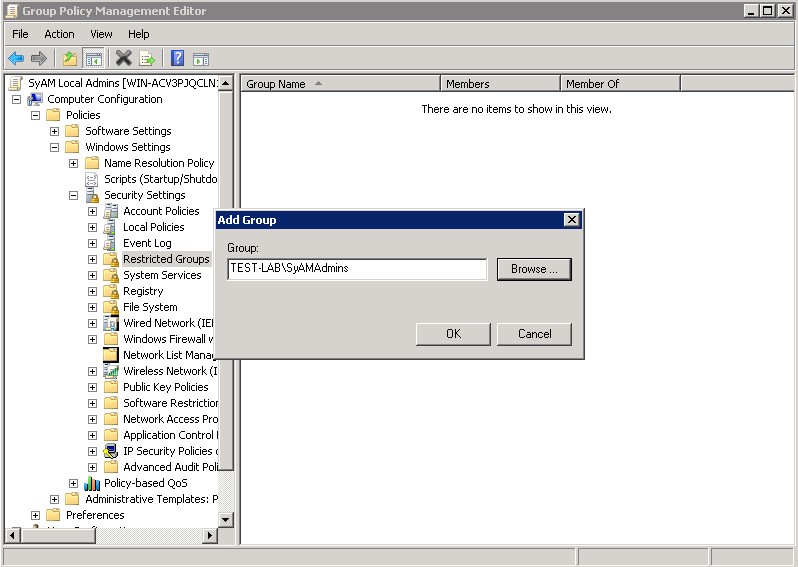
The Add Group dialog will be displayed. Click the Browse button. In the Select Groups dialog, enter the name of the Active Directory security group we created in the first step. Click Check Names to validate the selection; you may be prompted for domain admin credentials to perform this task. Click OK.
In the Add Group dialog, click OK.
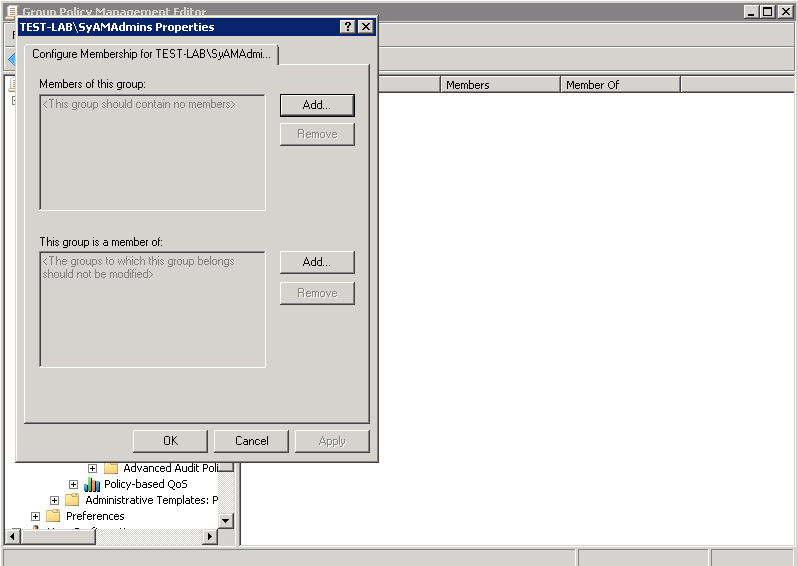
A dialog will appear to allow membership configuration. Please note: the top section (Members of this group) should be left unpopulated. To the right of the lower section (This group is a member of) click the Add button.
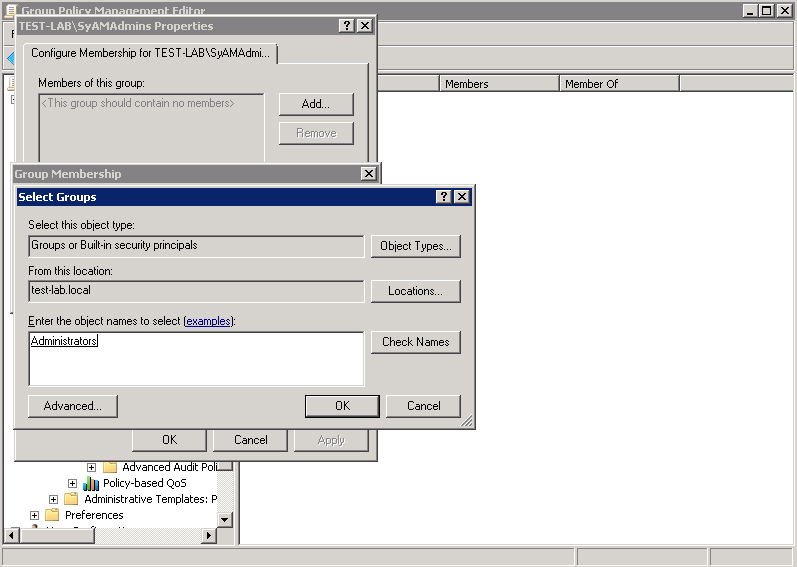
In the Group Membership dialog, click the Browse button. In the Select Groups button, type Administrators in the box. Click the Check Names button to validate the entry, then click OK.
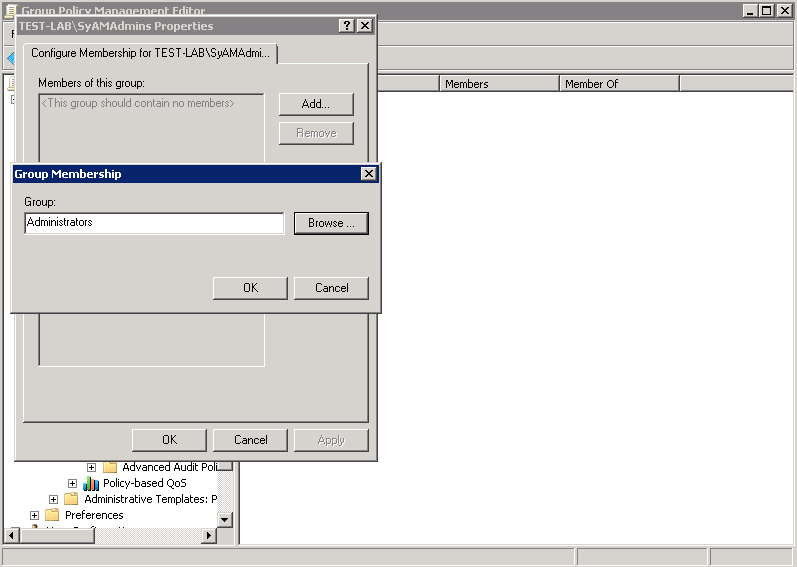
In the Group Membership dialog, click OK.
The Properties dialog should appear as below, with the top section listing no members and the bottom section listing Administrators. Click OK.

Allow sufficient time for Group Policy to refresh, depending on your configuration settings. You can test the configuration from a local machine in the OU by running the command gpupdate /force to update Group Policy settings, then checking the Administrators group in Local Users and Groups to verify that the SyAM users group has been added.
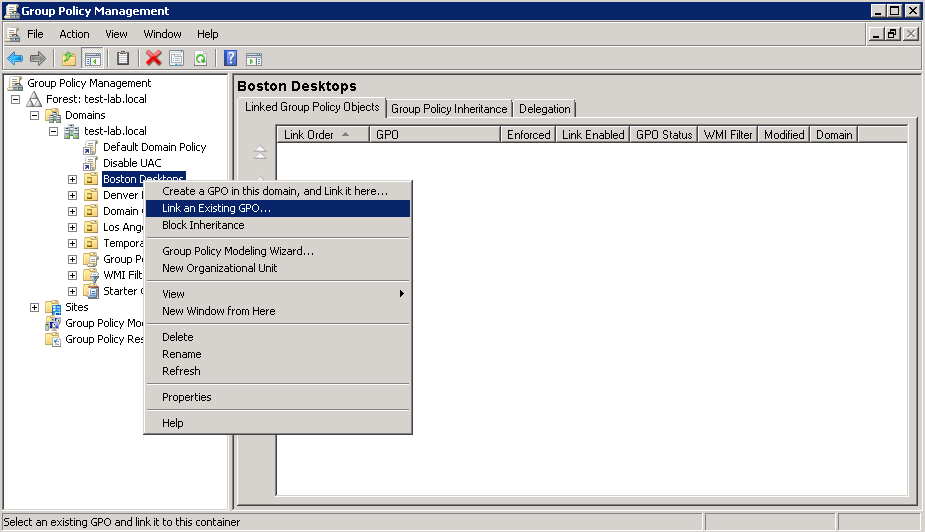
You can go back to Group Policy Management and apply the new Group Policy Object to another Organizational Unit. Under the domain, right-click the OU and choose Link an Existing GPO.
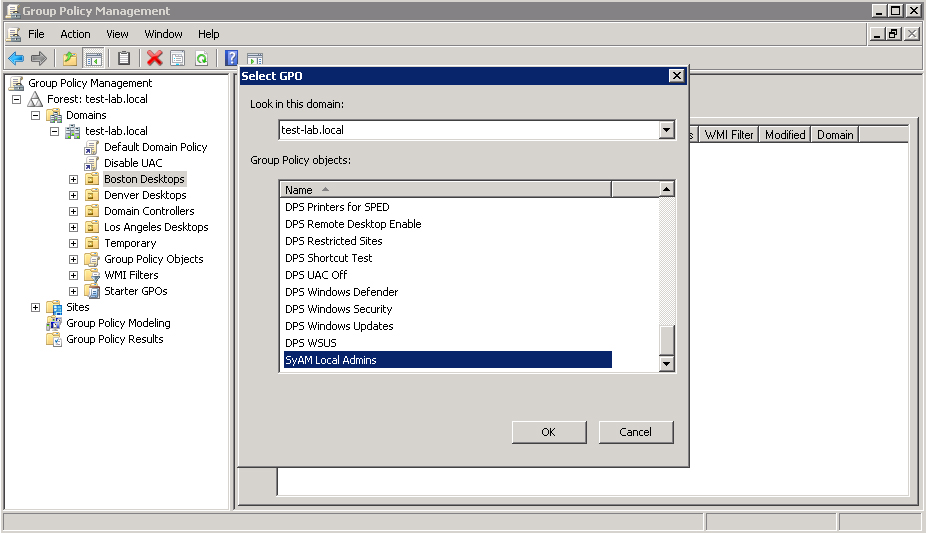
Select the GPO in the list. Click OK.
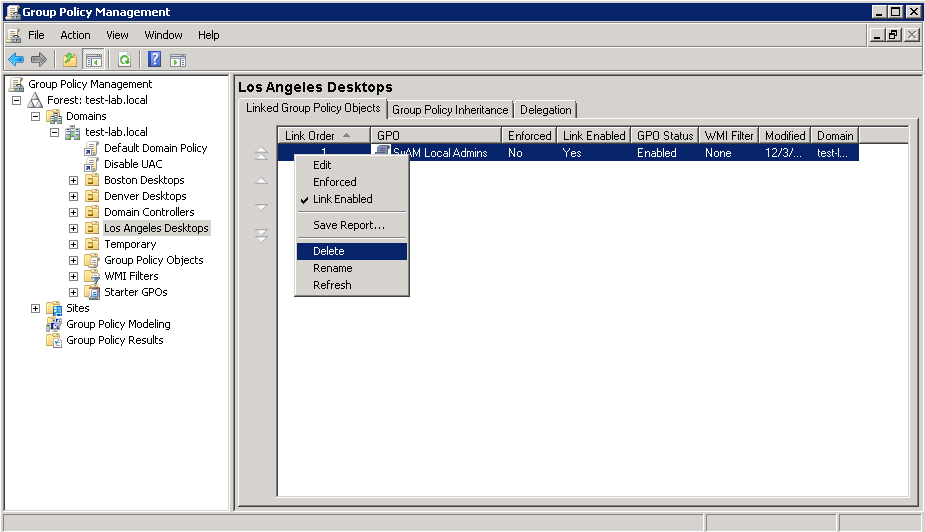
Repeat the procedure for any other OUs to be linked. If you need to remove a GPO from an OU, this can be done as shown below.
Management Utilities server permissions
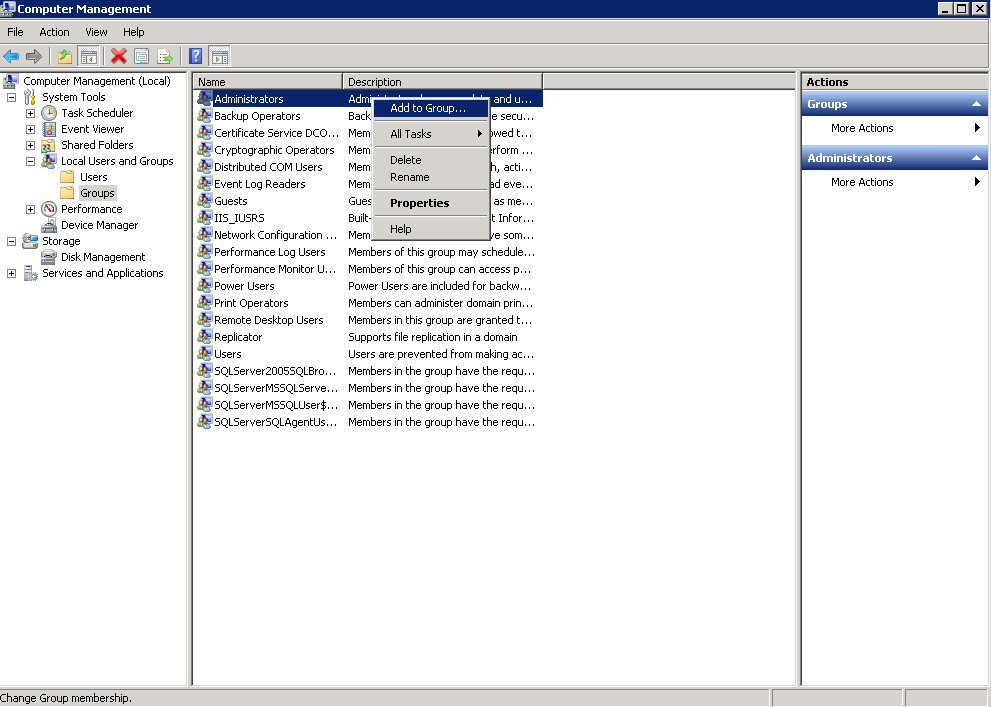
If the server running Management Utilities is not in an Organizational Unit where our new Group Policies are linked, we will need to add our group as a local administrator on this server. In Computer Management, under Local Users and Groups, click Groups. Right-click Administrators and choose Add to Group.
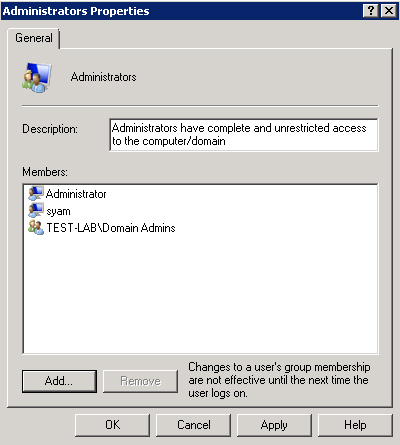
In the Administrators Properties dialog, click the Add button.
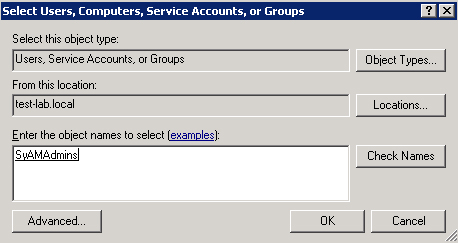
Enter the name of the group defined in your domain. Click Check Names to validate (you may be prompted for domain admin credentials) then click OK.
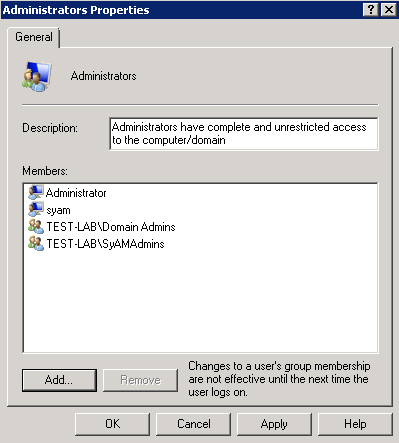
Click OK. The group is now added as a local administrator on the server where Management Utilities is installed.
Access to shared directories
Authentication credentials used by Management Utilities to deploy the System Client and third party applications must be valid for the network shares where the installation files are found. These network paths are defined in the Administration Settings area of Management Utilities. Sharing of these directories must be configured to allow read/write access for the users whose credentials are supplied by Authentication templates.
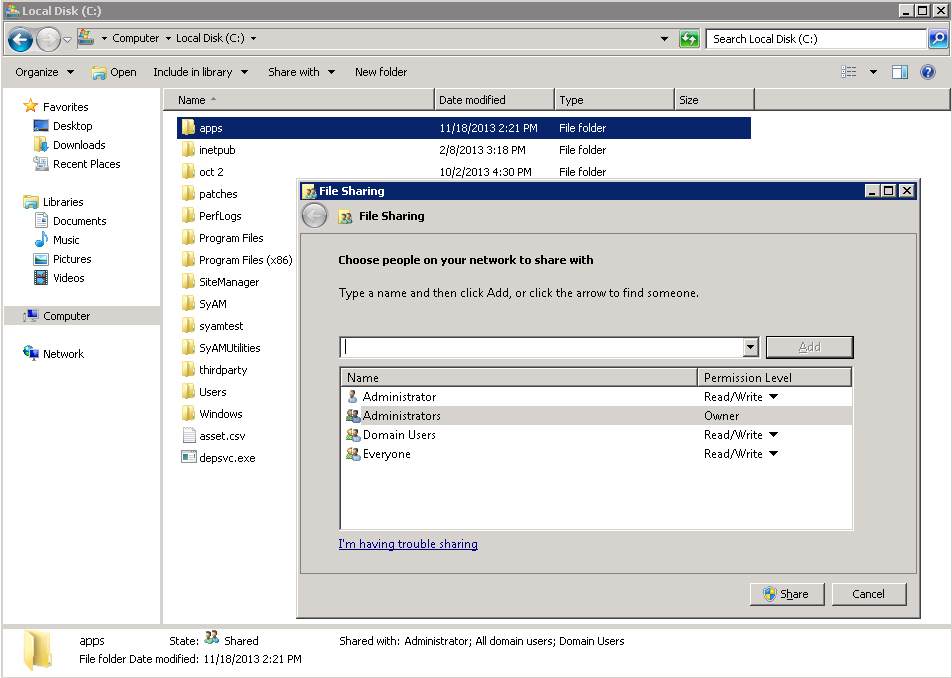
Your preferred sharing configuration may be more restrictive than our example, so long as the Management Utilities users are given read/write permissions.
Adding users to Management Utilities
Users of Management Utilities are added individually on the Users tab of Administration Settings.
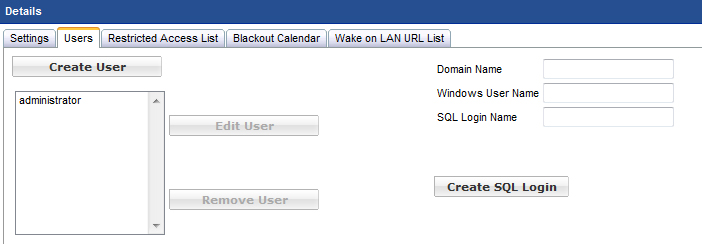
Click the Create User button.
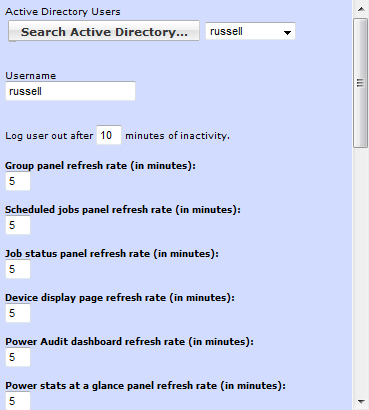
To add an Active Directory user as a Management Utilities user, click the Search Active Directory button and choose the user from the drop down menu. If desired, you can specify user settings, as well as specific features and tasks the user is allowed to access. When finished, click the Save Changes button.
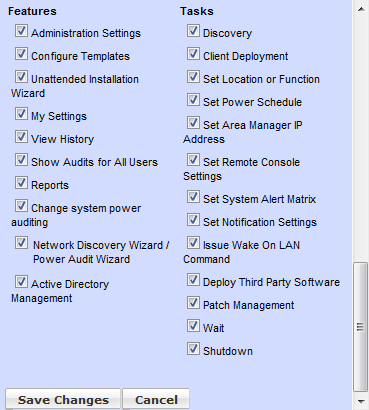
Repeat the procedure to add more users.
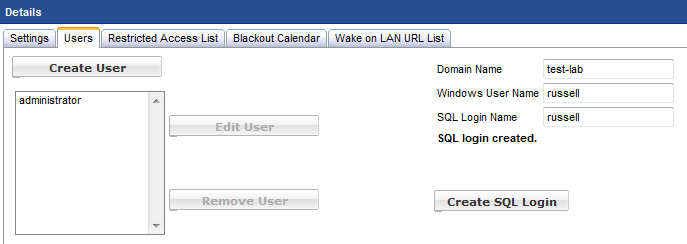
SQL configuration
Some features of Management Utilities require that the user can authenticate to SQL on the Management Utilities server. This can be configured on the Users tab of Administration Settings. Enter the domain name and Windows user name. By default the SQL login name will be the same as the Windows user name; this can be changed if desired. Click the Create SQL Login button. A message will confirm that the user has been added.