Editing Tickets - Adding Comments
Editing Tickets - Adding Comments
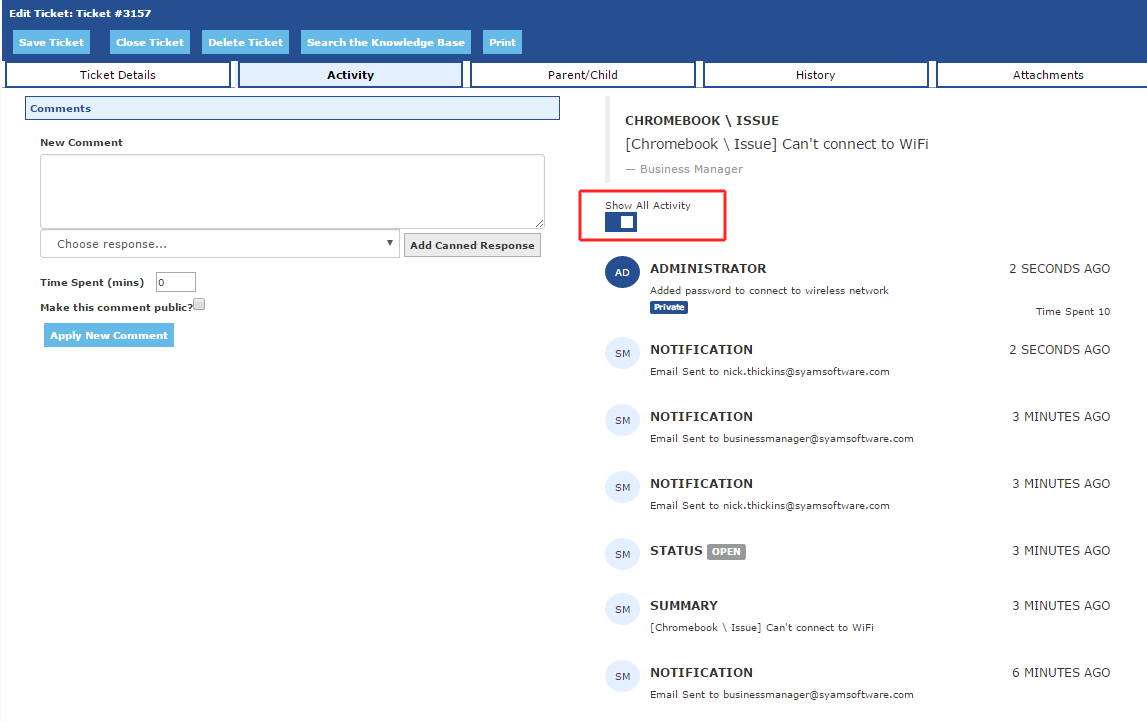
Select the Ticket you wish to Update by clicking on it in the Dashboard – this will bring up the ticket Activity screen
You will be presented the Activity tab (Unless you have changed the preference in the Ticketing dashboard settings)
The ticket summary will be presented on the upper right hand and any ticket comments below
Comments can be entered into box or canned text responses can be chosen to populate the comments
To notify the customer with the comment you check off Make this comment public
To apply the comment and close the screen click on the Save Ticket button on the header bar
To apply the comment and remain on the screen to perform another action click on the Apply New Comment button
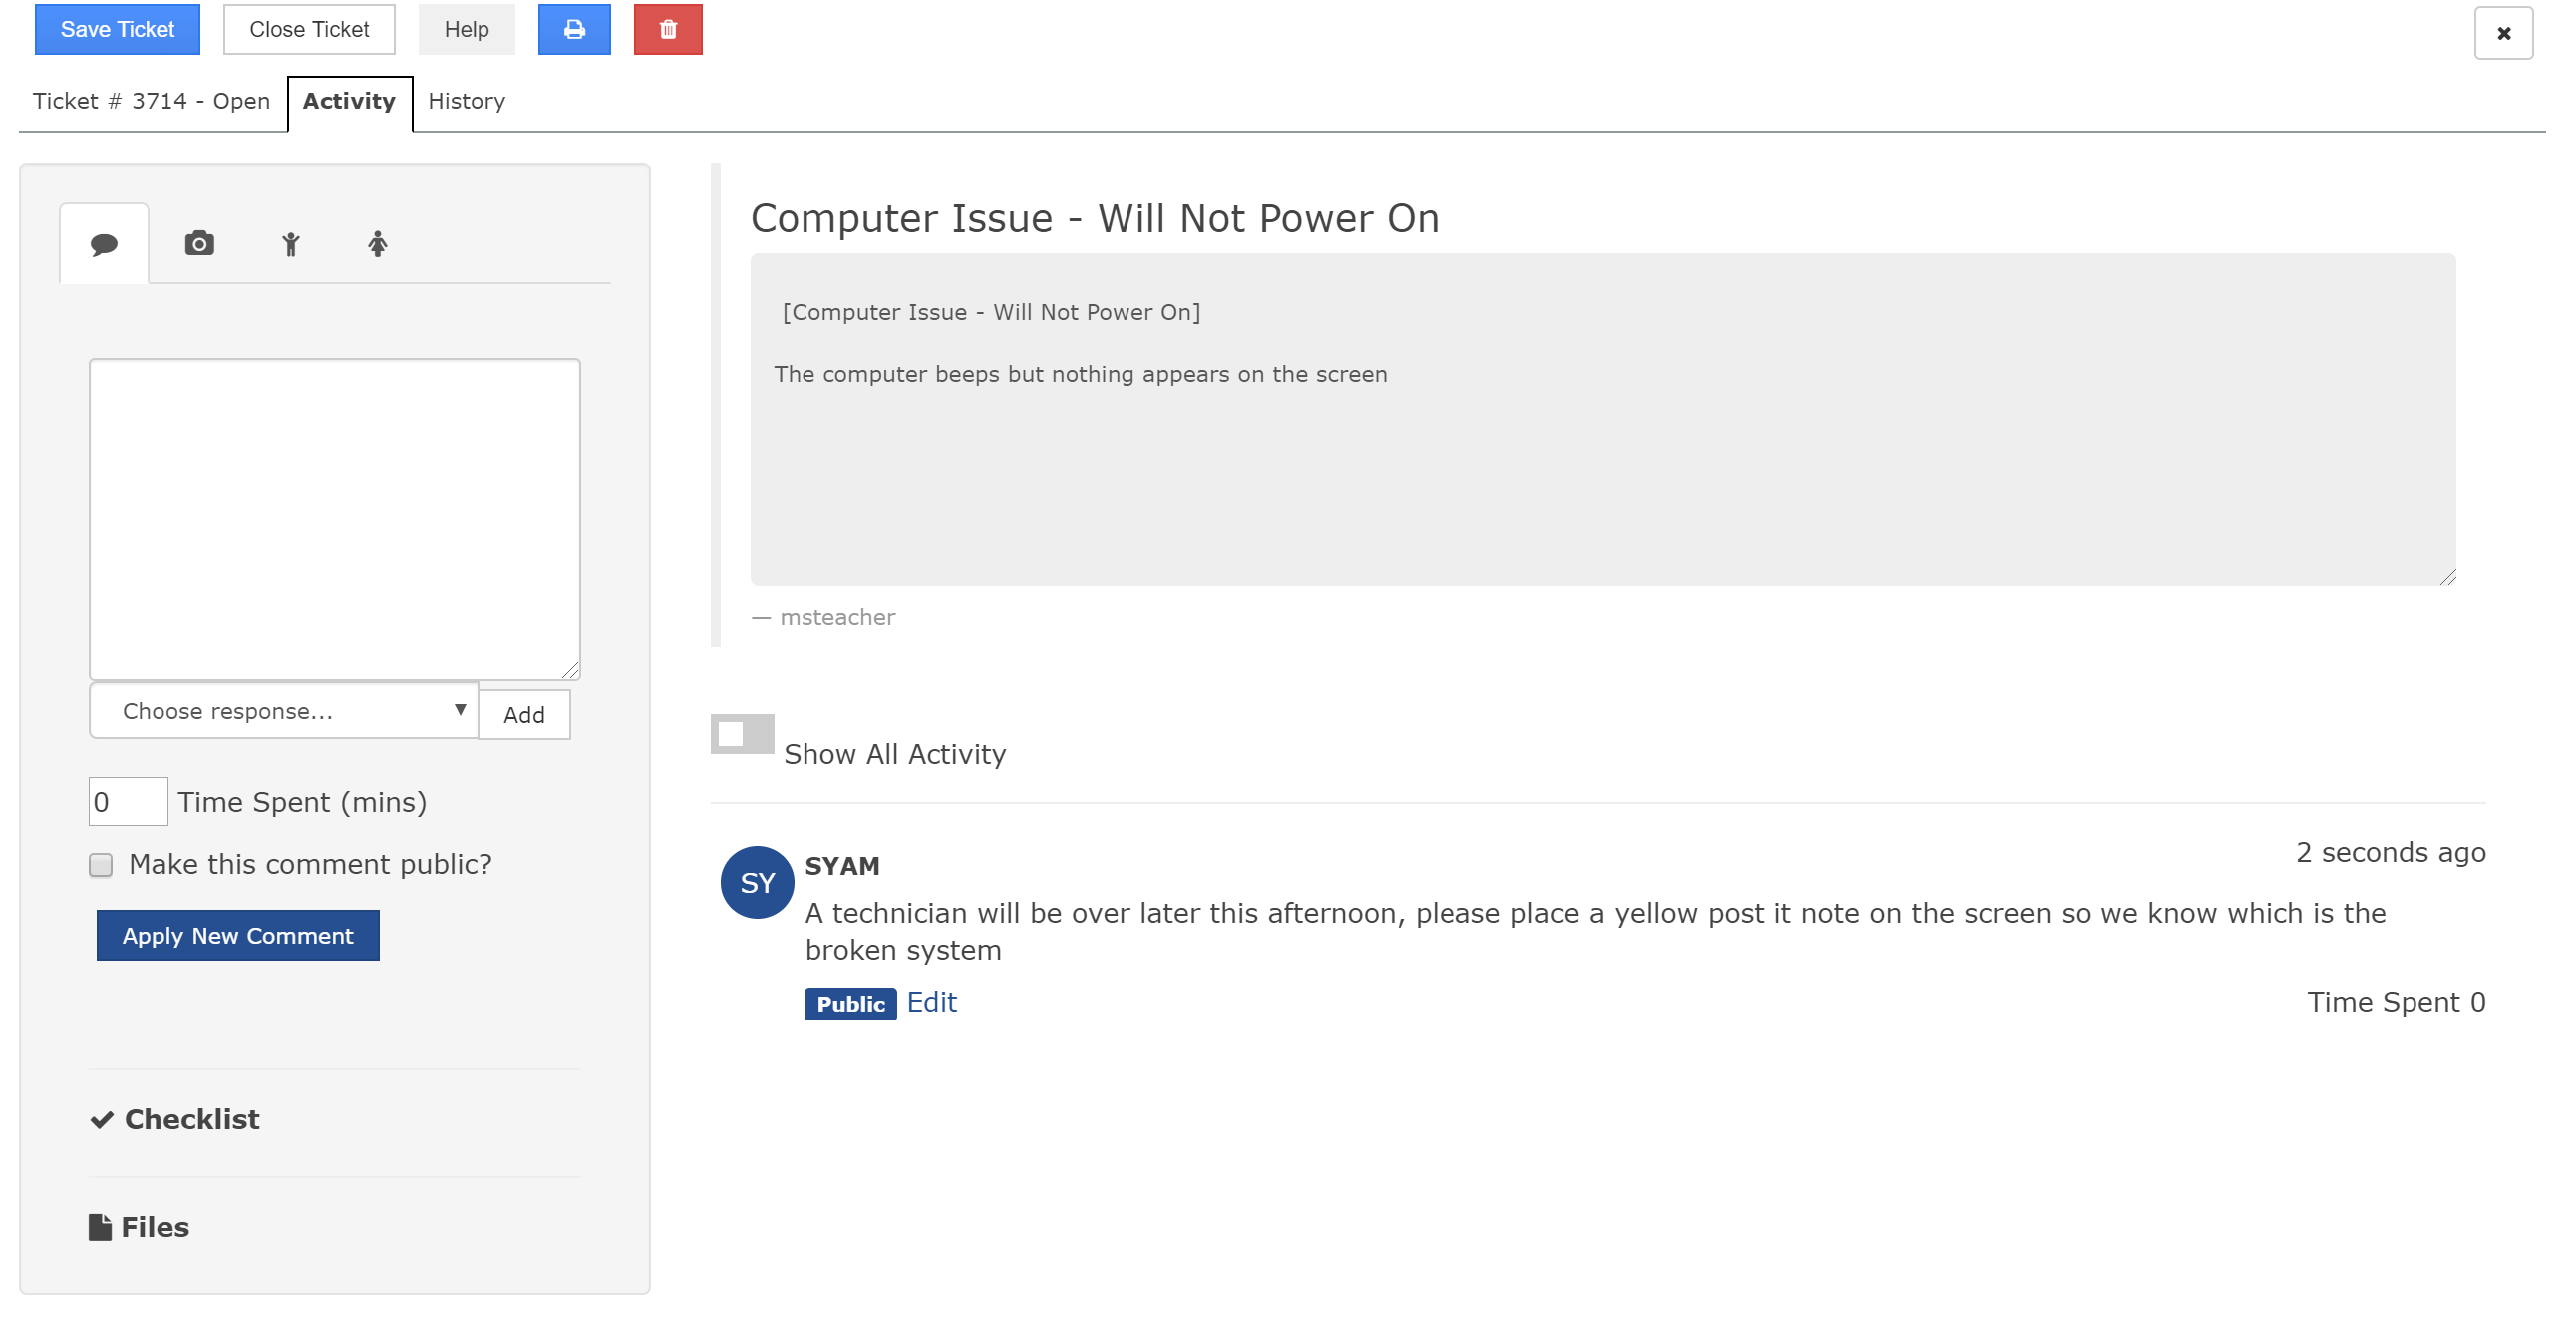
Enter the comments on the ticket resolution.
To make these comments public so they are notified to the end user click on the "Make this comment public" check box.
Click Apply New Comment button to save these comments and stay on the screen to enter further comments.
Click on the Save Ticket to save these comments and close the edit ticket window.
The ticket activity is presented on the right below the ticket details.
The Show All Activity Slider will present the notification history.