Removing Data from Assets
There may be an occasion that you wish to remove data from a group of assets.
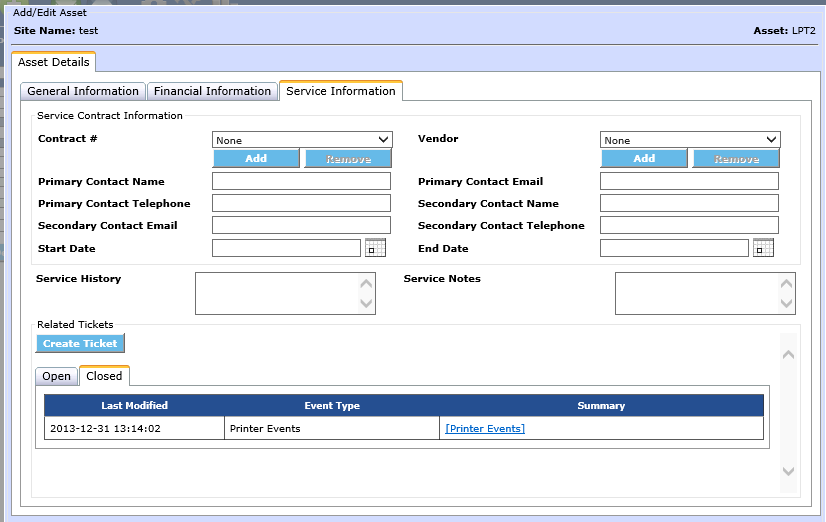
For a single asset you can edit from the Asset Dashboard.
For multiple Assets you can use the Asset Import from a CSV function after you have removed the assets.
**Please Note** Blank cells in the CSV are ignored during the import, they will not clear out the current data that is in your Asset database.
It is not recommended to insert a period . into the cell as this will then insert that value into the database.
Steps to remove data from multiple assets
1. Using the Filter options select the assets that need to be updated
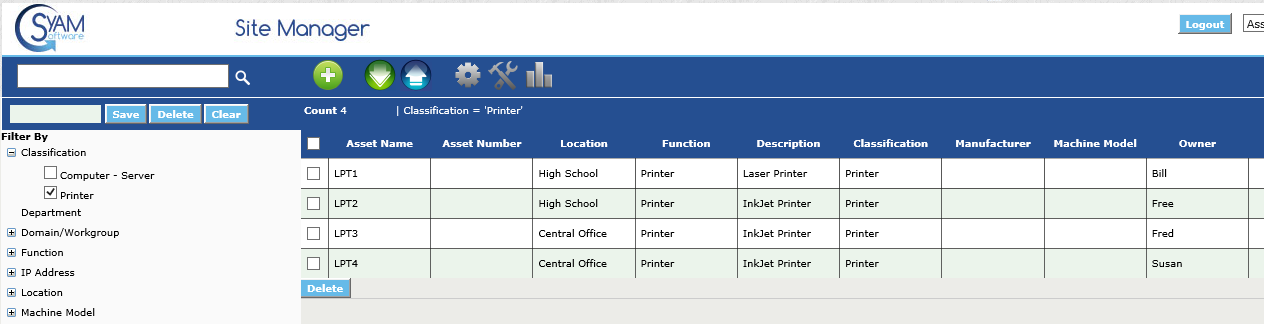
2. Export the filtered asset results to a CSV file, identify the fields you wish to remove the data from - in this example we wish to remove the Owner names.
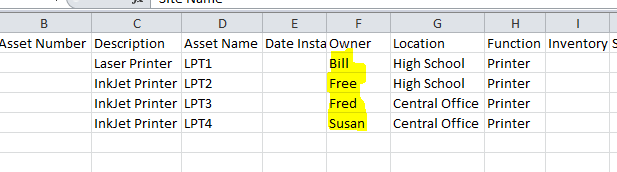
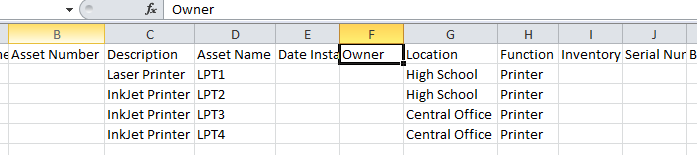
3. Delete the data you wish to have removed and save the CSV file as a new name - in the example we deleted the names of the owners.
**Please Note** We need to remove the assets before importing the new CSV file.
4. Click on the check box to select the filtered asset results, then click on the delete button
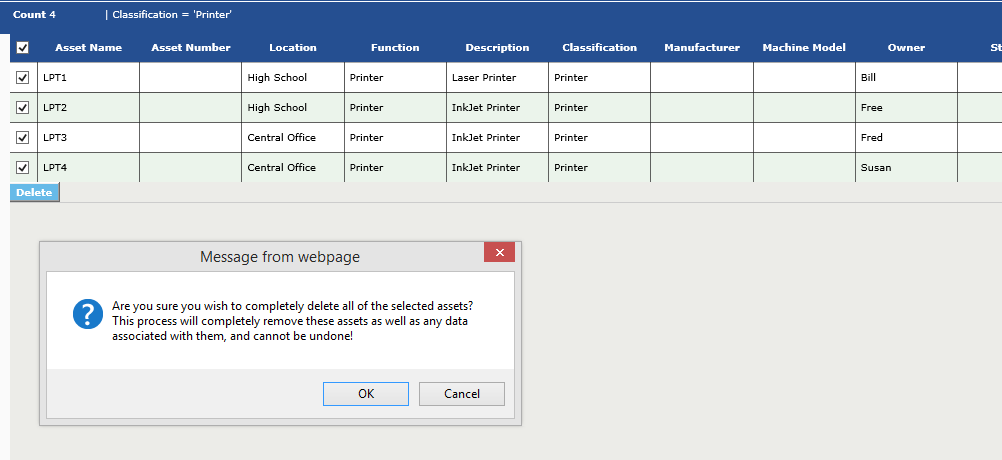
**Please Note** Delete will remove the assets from the asset database
5. Once deleted you can now import the updated assets using the new CSV file you created.
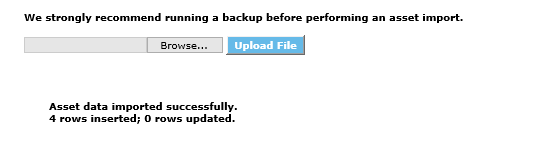
This will insert the new assets into the database, check the result to make sure you only have inserted rows and no updates.
**Please Note** If you have updates it means the asset was still present in the asset database, thus updates of removed fields will not be implemented.
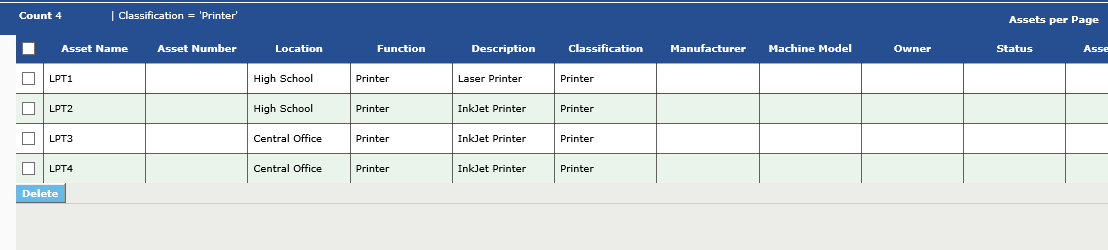
6. Now view the assets using the same filter and confirm the data you removed is no longer present int he asset database.
**Please Note** If you have tickets assigned to the assets you delete you will loose the associated service ticket history to the asset
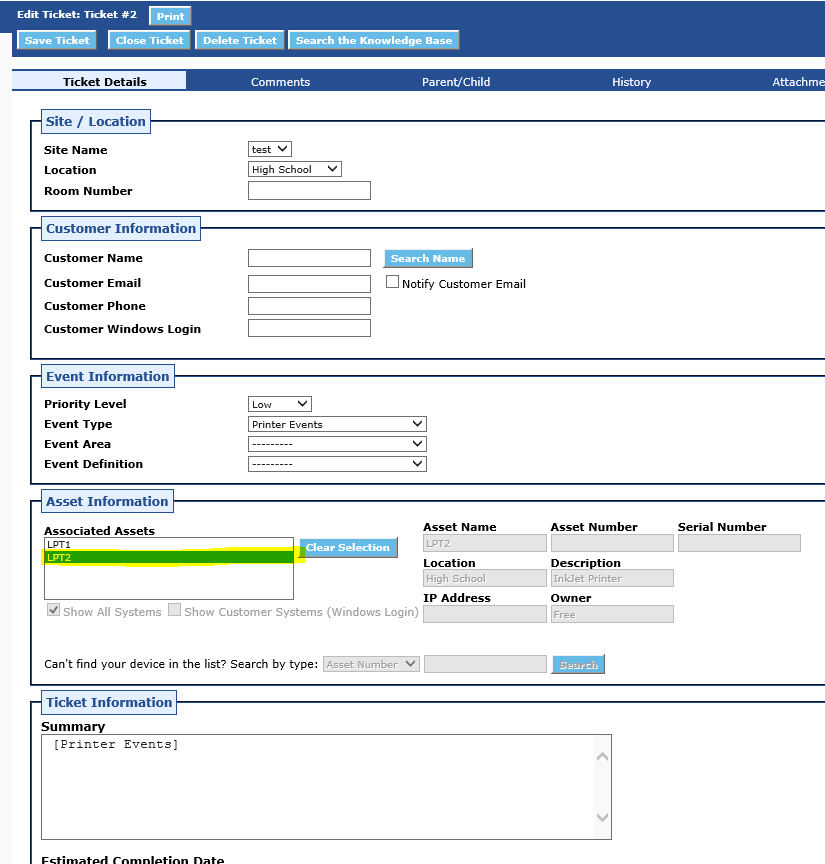
To reassign the ticket to the asset edit the ticket and select the asset it relates to then save the ticket. (If the ticket is closed you will need to re-open it first)
This will restore the service ticket history.