vPro (AMT)
The AMT Tab will only appear if the system running the System Client is identified as having Intel AMT technology onboard.
Server/Desktop/Notebook System Client can provide power management and AMT Console access when the system is in either an operating system-present or -absent state.
Please check www.syamsoftware.com/vpro for validated AMT configurations.
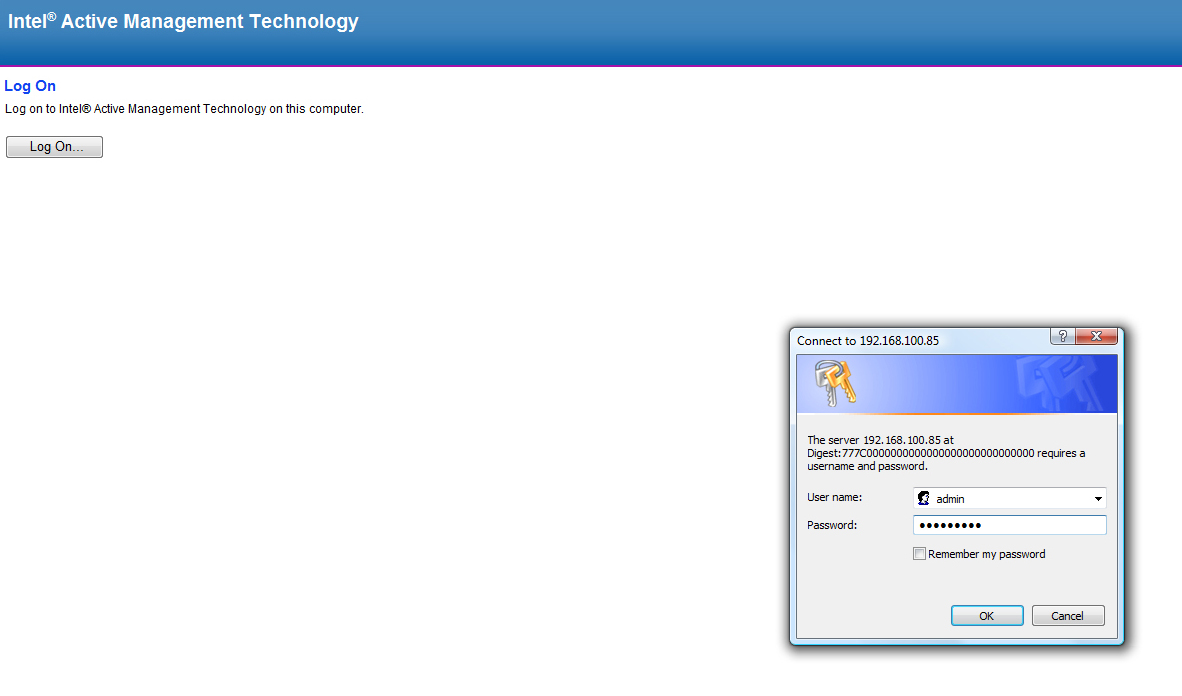
You must first configure the AMT Port IP address and password using the vendor provided utilities before you can utilize this AMT feature. Enter the user name, password and IP address of the AMT port for the managed system. Click the Apply button to save this data.

Click Launch AMT Console to open a new browser window and login directly into the embedded AMT web server.
Once you have saved the user name, password and IP address, click the Establish AMT Connection button under the AMT Remote Control Tab to access the managed system's AMT over the LAN.

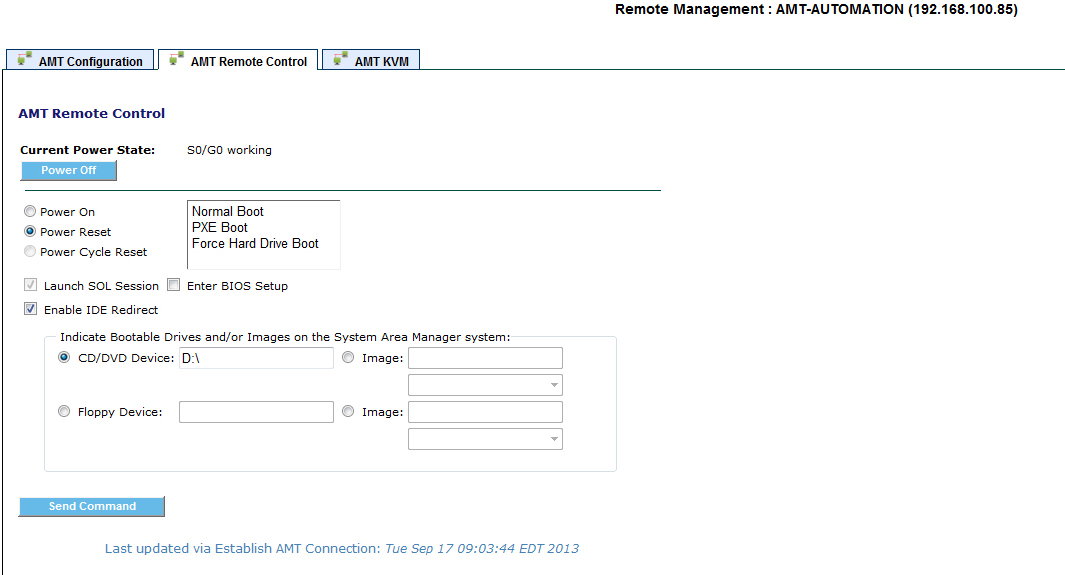
Once connected, the following power options are available.
Power Off
This will perform a forced power off not a graceful shutdown.
Power On
This will perform a forced power on.
Power Reset
This will perform a power reset not a graceful reset.
Power Cycle Reset
This will perform a power cycle reset.
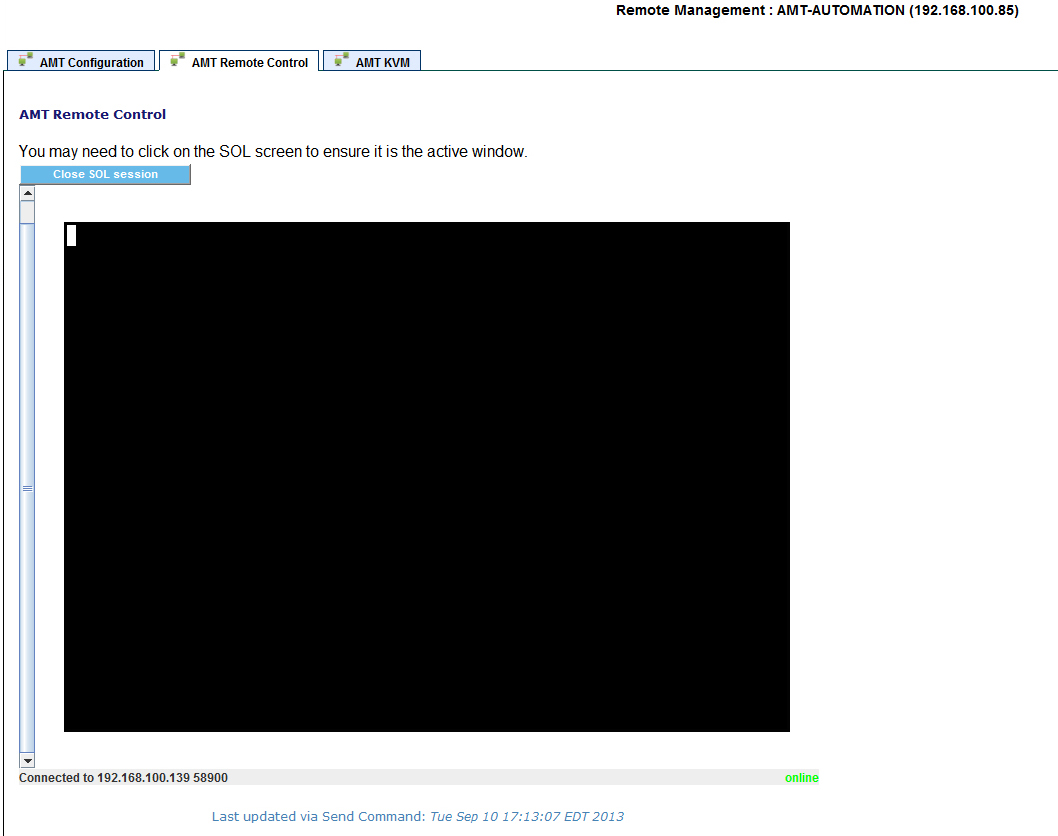
Serial Over LAN enables a user to remotely reboot a system. When a user reboots with SOL enabled, the SOL session is presented in the user’s browser.
In order to create an SOL session, the user must verify the current power status.
Next, click the ‘Launch SOL Session’ box, and then click on the ‘Send Command Button’.
Please Note: When using an SOL session, you are only able to boot the system normally. You cannot specify special commands such as PXE.
IDE-Redirect allows an AMT managed system on the System Area Manager tree to boot from a CD/DVD Image, floppy image, floppy disk, CD or DVD device which is located in the system running System Area Manager. IDE-Redirect is only available when using SOL.
These drives or images are on the computer running System Area Manager, NOT on the computer running your web browser. The default folder for storing these images is:
C:\SyAM\IDER\
To invoke the IDE Redirect either click on the Power Reset or Power On buttons and click in the SOL and IDE-R check boxes. Under image chose one of the four options, Floppy Image, Floppy Drive, CD/DVD Image or CD/DVD Drive you want the system to boot from, and click ‘Send Command’.
When using either a Windows or Linux System Area Manager you need to use the correct corresponding Windows or Linux syntax for the Floppy disk device and CD ROM device.
If you are unsure of what the logical letter of the CD ROM device is, browse to the Storage screen of the System Area Manager.
System Area Manager running on a Windows Operating System
Floppy Device Drive a:
Floppy Device Image c:\win98dos.img or c:\win98doscd.iso
CD Rom Device Drive d:
CD Rom Device Image c:\win98doscd.iso
System Area Manager running on a Linux Operating System
Floppy Device Drive /dev/fd0
CD Rom Device Drive /dev/hda
- AMT KVM
If you have an AMT 6 or above capable system you will be presented with a 4th AMT Tab called AMT KVM.

Note: Your Management Engine (ME) must be configured to support KVM. This requires a processor with integrated graphics such as an i5 Processor. Please check your hardware manual for the list of supported processors for the KVM capability.
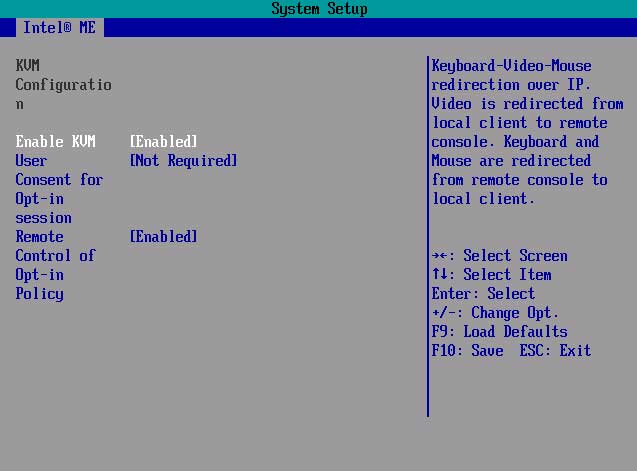
When you click on the Establish AMT Connection you will open up the AMT KVM configuration screen. If your system does not have the AMT KVM configured in the ME you will be presented with an error message, “KVM must be enabled in your management engine”. Please recheck your ME settings and make sure the KVM is enabled.
By checking off the Local User Approval Required you will require the user to provide you with the pass-code presented on their screen and enter this onto your interface before you can take remote control of their system. The timeout is the number of seconds you have to enter this code before the remote connection is closed.
The KVM Password is the password programmed into the ME, this is required to log into the Remote system’s KVM. The password must be 8 characters and contain upper and lower case, numbers and characters. Example: P@ssw0rd
The KVM Inactivity Timeout is the number of minutes the remote KVM connection will disconnect with the remote system when there has been no mouse or keyboard activity to the remote system through the browser.
After you have applied the password and settings you must start the KVM before you can launch the KVM. You can stop the KVM after it has been used for additional security.
When you click the Launch KVM button you will be presented with the KVM Authentication screen.
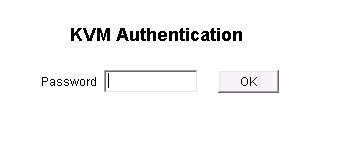
Enter the Password that you configured in the KVM screen.
If you have not enabled the Local User Approval you will now be presented the KVM of the remote system.
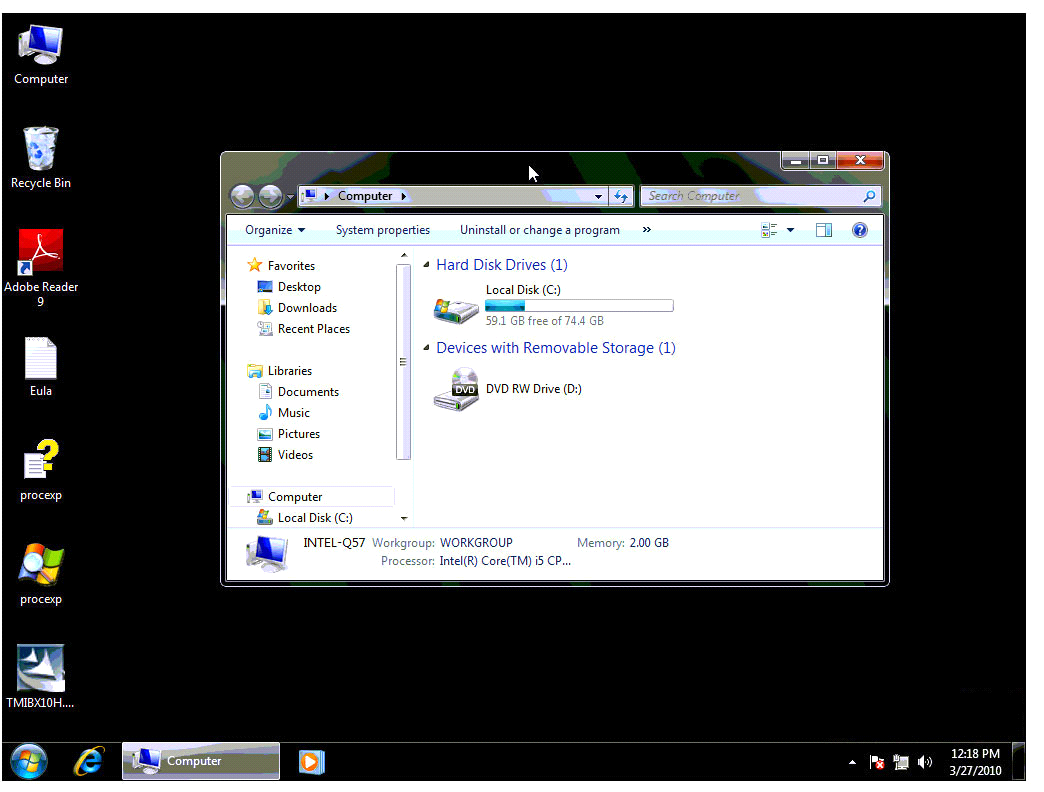
Close the window when finished.
Please Note: If you have AMT KVM running you will not be able to use the Remote Console feature in System Area Manager.
If Local User Approval is enabled have the end user provide you the pass code on their screen and enter it onto your screen so you can take KVM control of their system.
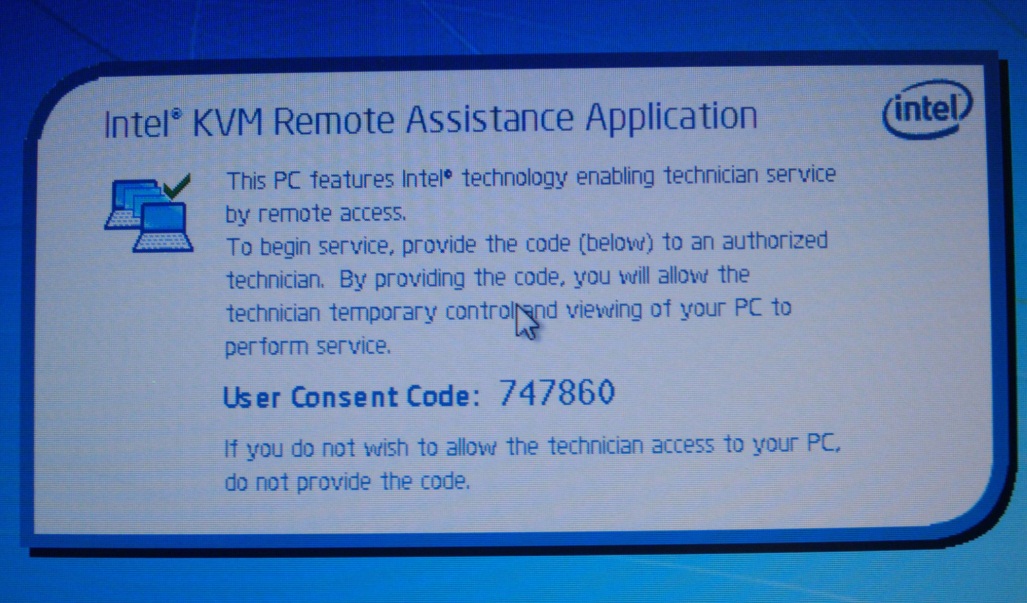
Once you enter the code the KVM will be connected to the remote system.
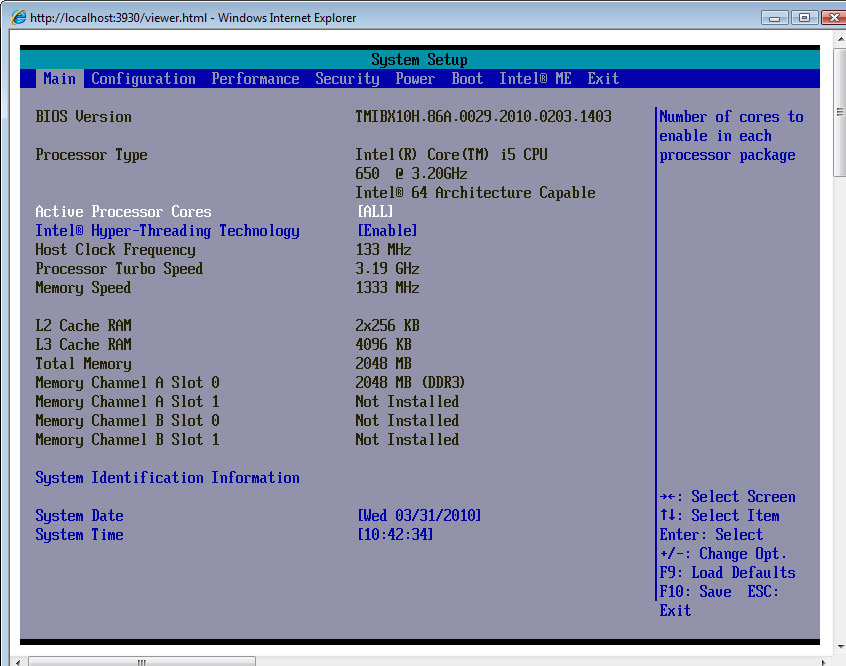
The KVM works even when the system is powering up so you can make BIOS changes, to do this on your System Area Manager choose restart the system from the Remote Management page or choose to Power Reset or Power On for the system from the AMT Remote Control page, then press F2 on the KVM window to enter setup.